If you were moving from Windows to Linux, then you most likely heard of CPU-Z, a fantastic tool to gather hardware information in Windows.
So, what were you thinking that you could use the same tool in Linux too?

Hahaaa! Linux is not an easy recipe that you can learn and master in a single day. However, to remove the strain of not having a tool like CPU-Z on Linux, you can try its alternative, CPU-X.
CPU-X: A GUI Tool to Gather CPU, Motherboard, and Other Hardware Information
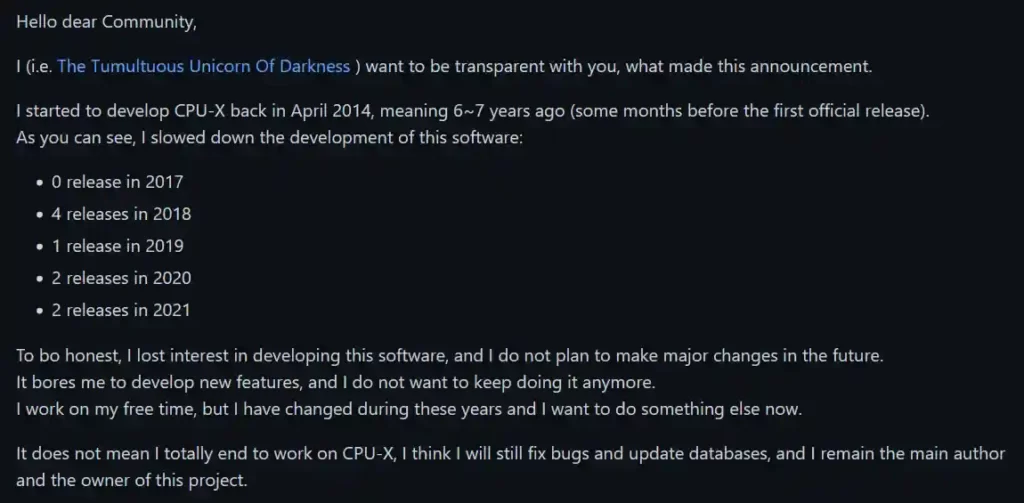
First, I would like to thank the developer, The Tumultuous Unicorn of Darkness (a kind of silly name), for developing such an amazing tool back in 2014.
Apart from that, I would like to tell you before moving forward that the developer does not plan to add new features in the future, except that he will try to provide updates for bugs and databases.
I hope you understand the situation surrounding this project. So, let us talk about the real stuff.
First things first, the application is obviously a free and open-source tool (written in C) developed for a UNIX-based system like Linux.
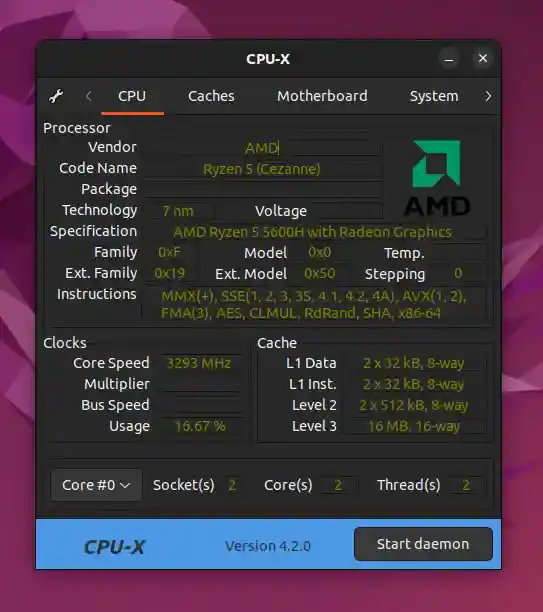
It can detect the system hardware, like the processor (CPU), cache, motherboard, and memory (RAM), and provide you with real time resource usage like clocks and cache usage.
By default, the application will show you the output in a beautiful graphical window identical to CPU-Z that uses GTK3 (a GTK4 port is not going to happen due to the developer’s lack of support for this project).
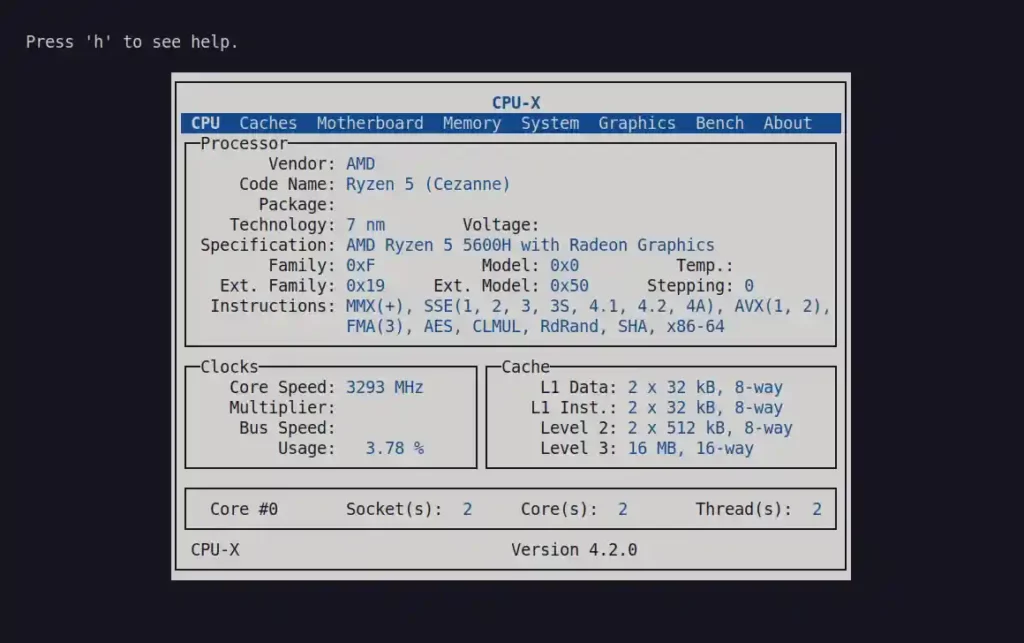
If you prefer to view the output in text-based mode, you can do that as well with the help of NCurses.
CPU-X Features
If you look at the above pictures, you can see that they report a variety of system hardware information.
However, little information is available on other tabs, so I have given you the list of all hardware information this tool provides.
- Processor
- Cache
- Motherboard
- Memory
- System
- Graphic card
- Performance
There is a lot more to say, but before that, let us see how you can install these tools on your Linux system.
Installing CPU-X on Linux
If you remember, at the beginning of this article, I mentioned that this tool has been available since 2014.
Due to its maturity and popularity, it is packaged with most popular Linux distributions, and you can directly install it from their default package manager, as shown below.
For Debian and Ubuntu.
$ sudo apt install cpu-xFor Fedora 30 or later.
$ sudo dnf install cpu-xFor Arch Linux using AUR package manager.
$ yay -Sy cpu-xFor OpenSUSE.
$ sudo zypper install cpu-xFor Solus
$ sudo eopkg install cpu-xFor FreeBSD
$ sudo pkg install cpu-xIf you prefer to use this application as an AppImage, feel free to download it from GitHub Release.
CPU-X Usage
After the installation is finished, the application will automatically appear in the search menu, or you can execute the cpu-x command to open the GUI window.
As you look at the above picture, it shows my current system processor (CPU) information. However, you can switch between the tabs (Caches, Motherboard, System, GPU, etc.) to view all other hardware information.
But the most interesting part is the "Start Daemon" button in the bottom right corner. Currently, the CPU-X will show you all the information that does not require superuser privileges, due to which the information might be limited.
However, if you click the "Start Daemon" button, it will prompt you for a superuser window where you have to type your current user password, and then it will gather more information from the system (package, multiplier, bus speed) and remove all the empty labels.
Now that’s all for the graphical windows; however, you can use the text-based mode to view all the above information by executing the below command.
$ cpu-x -NThe output will be identical to the graphical window, except it will use a Ncurses type interface. Apart from that, you can use the left and right arrow keys to switch between the different tabs.
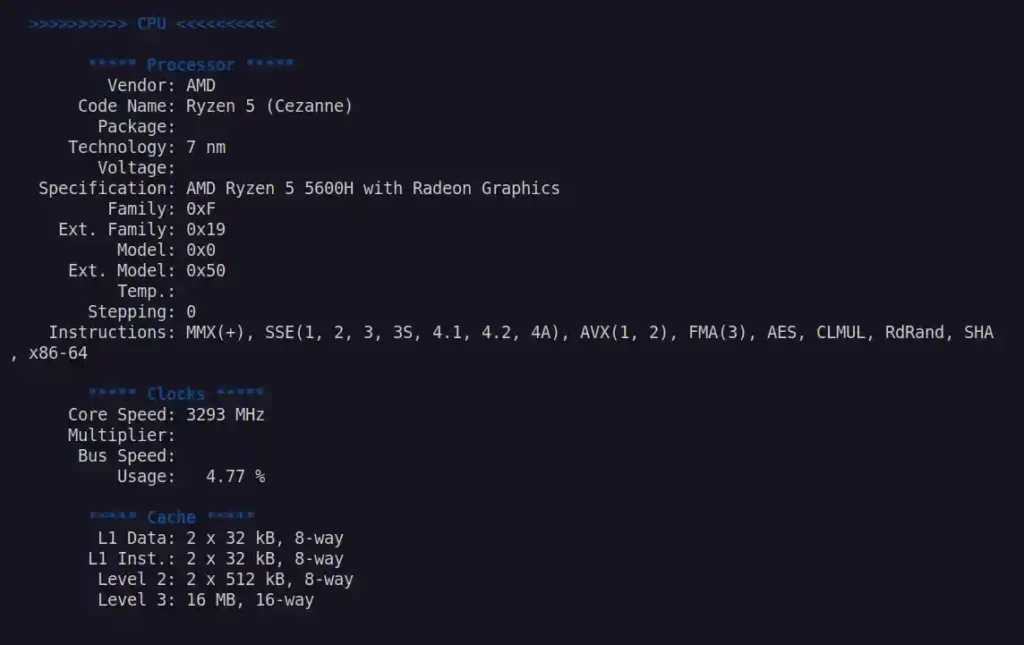
However, you can execute the following command to dump all the information in standard output.
$ cpu-x -DThe result will be long enough to require a scroll bar to view the complete information.
That’s the ingredient you should know. Now, let us move into the wrap-up.
Wrap Up
Gen-Z users always might complain and look for the Windows alternative for Linux. However, there are oceans of tools for Linux to perform the same things.
If you were interested in knowing them all, then drop your comment in the below form. Apart from that, as we discussed in the beginning, this tool is not supported by the developer any more except for bug fixes and database updates.
However, if there is any new update to the application or if it is completely discontinued, then I will let you know, so don’t forget to subscribe to the newsletter.
Until then, have a great day!