Here we will show you two simple steps to install the Boost library in C++ on Ubuntu/Linux, along with an example of using the Boost library.
Boost is a portable set of C++ programming language libraries. It contains libraries for pseudo-random number generation, linear algebra, multi-threading, image processing, regular expressions, and unit testing.
At the time of writing this article, Boost has 168 different libraries, which are getting increased regularly with new additions and updates.
According to the C++ Coding Standards book, it is considered “one of the most highly regarded and expertly designed C++ library projects in the world.”
So, let me show you how you can install the Boost library in Ubuntu or any other Debian-based distribution, but before that, let me list some of the libraries that you will find in Boost.
List of Libraries are avaible for use
Here, I have listed some of the libraries that you will be able to use once you install the Boost library on your Linux machine, such as:
- Boost.Asio: Use for networking and other low-level I/O operation
- Boost.Beast: Portable HTTP, WebSocket, and network operations
- Boost.Coroutine2: Coroutine library for Asynchronous
- Boost.GIL: Generic image library provide an easy way to read and write image
- Boost.Lambda: Flexible way to define unamed function objects
- Boost.Polygon: Helpful in geometric operations
- Boost.Python: Interoperability between C++ and Python
- Boost.Math: It’s allow you to perform various mathemical operation easily
- Boost.Serialization: Serializing and de-serializing C++ Objects
- Boost.JSON: JSON Parsing and Serializing
- Boost.URL: For URL parsing
- Boost.Xpressive: Regular expressions that can be written as strings or as expression templates
If you want to know what all libraries are available, then you can click here to find out.
Install Boost Library in C++
The Boost library can be installed on your Ubuntu machine in a couple of ways.
One of them is to install it from the system repository, and the second option is to download and install the package from the source, or else you can use the source file as a portable library.
Both methods have their own advantages.
If you are considering the first method, then you will not find the latest version of the library, but the installation will be simple and less time-consuming.
If you don’t care about the latest release, then you can choose the first option, and those who want to use the latest version of Boost in their system can use the source method to install Boost libraries which requires some additional steps.
Install Boost library from Ubuntu System Repository
To start the installation, run the below command into your terminal and wait for the process to complete.
$ sudo apt install libboost-all-dev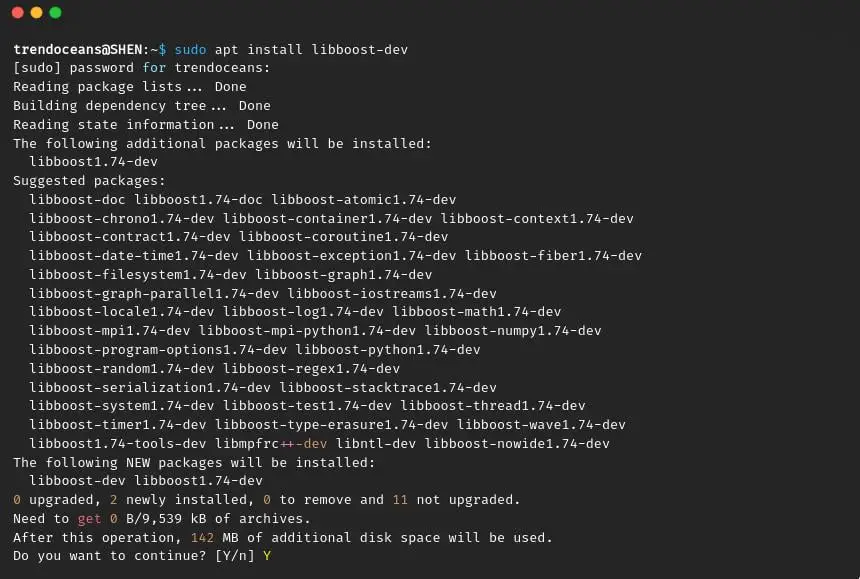
Once the installation is complete, you can use the library in your project.
Install Boost Library from the Source Package for all Linux Distributions
With the above method, you can get the Boost library installed on your Ubuntu machine, but the version will be older compared to this one, and the second thing is that this method will work on all Linux systems without any issue.
So, let me get into step straight away to show how to install Boost in linux.
First of all, you will require the latest release of Boost from the official page, or you can also get a Boost from the Github release section of Boost.
Once the pages get loaded, click on “Download”, which redirects you to the index page, and from there, you can get libraries in different compressions.

At the time of writing, this instruction’s latest version is 1.81.0. I’m downloading boost_1_79_0.tar.gz for this article. If you want, you can go with other compressed files too.

Once the file is downloaded, go to the directory where the file is located and extract it using the below command if you have downloaded boost_1_81_0_.tar.gz.
$ tar xvf boost_1_81_0.tar.gz After that, you can use these libraries as portable with your project, so just make sure to remember the path where you have extracted the libraries.
And if you want to install libraries system-wide, then pass the following command to the terminal and specify the library directory in your programme file to prevent errors.
./bootstrap.sh --prefix=/usr/
./b2
sudo ./b2 install
Demo Sample
Once you are done with the above procedure, you can test the library’s functionality with the sample programme. You can copy-paste the code snippet from here and save it as example.cpp.
#include <usr/include/boost/lambda.hpp>                     // Remove this line if you are using portable library
#include</boost/lamda.hpp>
#include <iostream>
#include <iterator>
#include <algorithm>

int main()
{
    using namespace boost::lambda;
    typedef std::istream_iterator<int> in;

    std::for_each(
        in(std::cin), in(), std::cout << (_1 * 3) << " " );
}
I’m assuming you are using the g++ for compilation.
Then go to the directory where example.cpp is located and run the following command:
$ g++ example.cpp -o sampleIf you are using portable libraries, then you need to run the below command:
$ g++ -I /path/boost_1_79_0 example.cpp -o sampleOnce the programme is compiled successfully, you can test out the output.
$ ./sample
1
3
2
6
3
9
Wrap up
That’s all for this guide, where you learned how to install the Boost library for C++ in Ubuntu and other Linux distributions.
I think you have installed the Boost successfully, but if you are facing any problems with the steps, then do let us know in the comment section.
Bye..Bye.. We will meet soon in the next article.