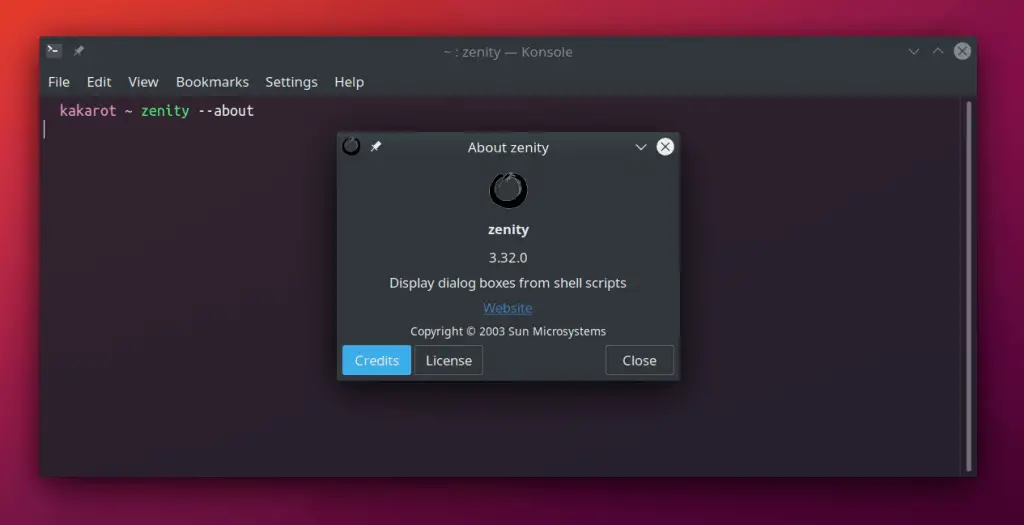
Zenity is a free and open-source cross-platform application that helps you create an application using shell scripts that can interact with users and take input.
Zenity display (GTK+) dialog box can be easily ported in other Linux distributions. It can be accessed via the command line, or you can implement it in your shell scripts.
Many different applications are available to display dialog boxes, but it’s the most recommended choice for script developers due to its simplicity and user-friendliness.
Features
- Easy to learn.
- Cross platform application.
- Support command-line and script shell.
- Free and open-source software.
- Simplicity and user-friendly.
List of Dialogs
V3.32.0 is the latest version of zenity, which includes the below-listed dialog boxes.
- Text Entry Dialog
- Password Dialog
- File Selection Dialog
- Message Dialog
- Forms Dialog
- Calendar Dialog
- Color Selection Dialog
- Notification Icon
- Progress Dialog
- Scale Dialog
Installation
Zenity is a built application preinstalled in almost all major Linux distributions. You can check if zenity is installed in your system or not using the below command.
If you got an error while executing the above command, then you have to install it separately.
It’s available in almost all distribution repositories like DEB, APT, YUM, PACMAN, YAY.
Debian/Ubuntu/PopOS
$ sudo apt install zenityRedhat/Fedora
$ yum install zenityArch/Manjaro
$ pacman -Sy zenityYou can also build and install zenity from its source code for your operating system.
Usage
Zenity can be used directly from the command line or implemented in a shell script.
First, we will start with the command line.
1. Text Entry Dialog
Text-Entry dialog box helps you to take input from users. In order to use it, you have to also specify the –entry option.
$ zenity --entry --text="Enter your name"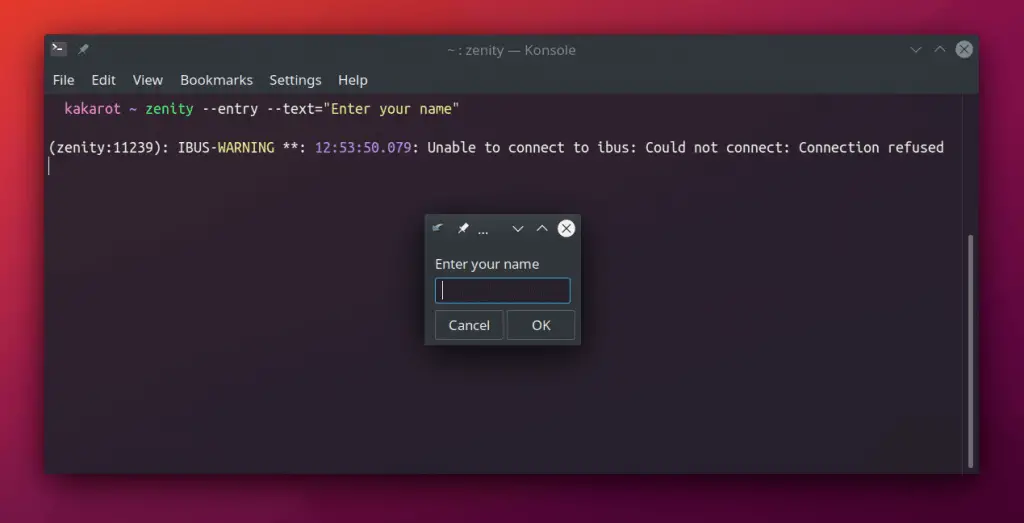
2. Password Dialog
The password dialog box helps you to create a password entry dialog. In order to use it, you have to specify the –password option.
–username: option can be used along with –password, which displays username field.
$ zenity --username --password
3. File Selection Dialog
File-Selection dialog helps you to select files and directories. Specify –file-section option to use it.
File-Section dialog supports a few more options listed below.
–filename=filename: Specify the file or directories in the file dialog when the dialog first appears.
–multiple: Allows to select multiple files.
–directory: In this option, you can only select directories,
–save: Set file-section dialog into saving mode.
–separator=separator: If you specify multiple options, then you can use a separator to specify the string to use as a separator for returned list of the filename.
$ zenity --file-selection --title="Select a File"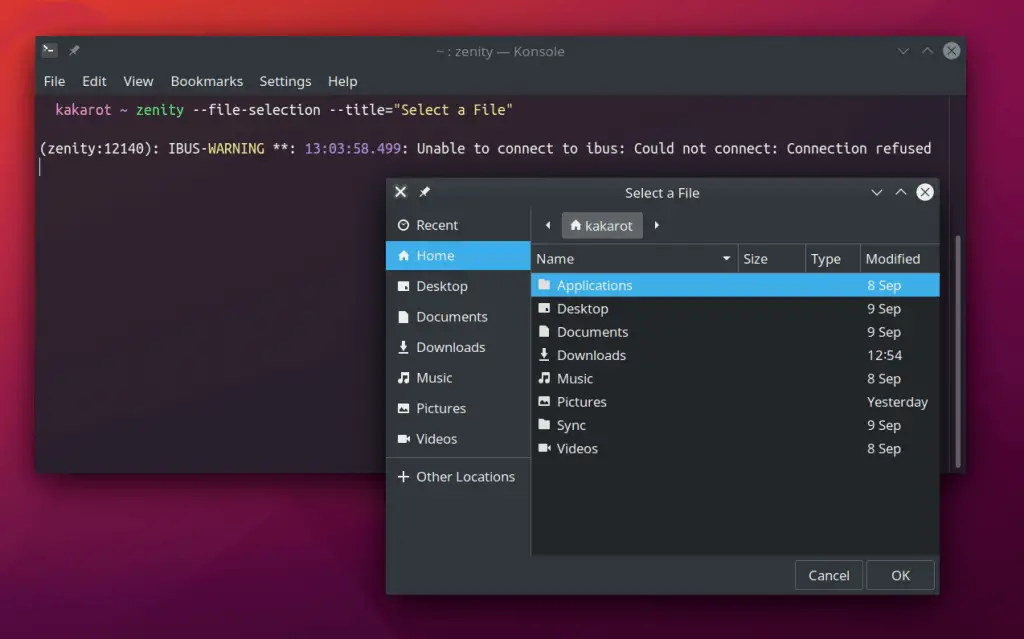
4. Message Dialog
These four types of message dialog boxes are available.
–error: option to display error.
–info: option to display info.
–question: option to display question.
–warning: option to display warning.
For each type, use the –text option to display text in each dialog box.
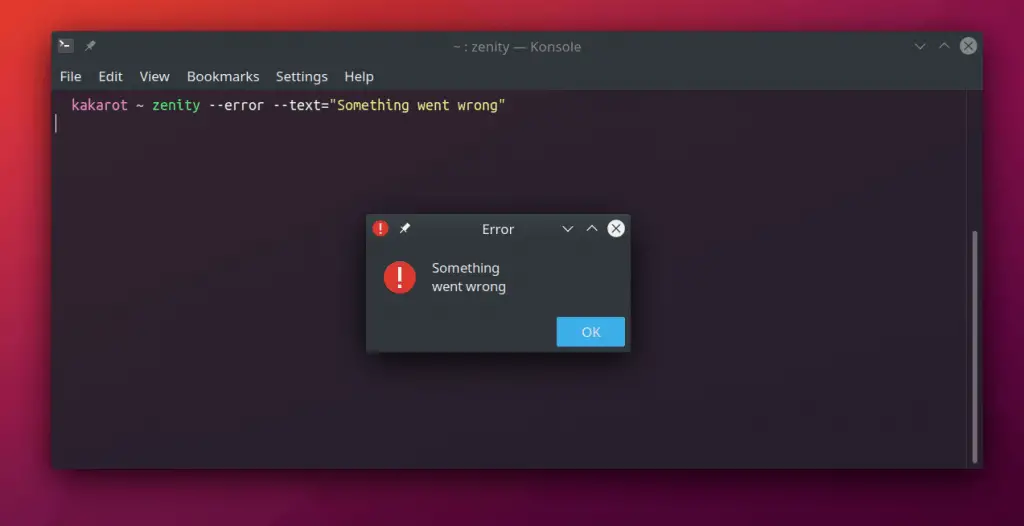
The rest of the dialog box is pretty easy to use. Just replace –error into listed options.
5. Form Dialog
Form Dialog helps you to create forms by taking user information from the form. There are different options available for the form to use respective to type.
–add-entry=FieldName: option helps to add new Entry in form dialog.
–add-password=FieldName: option helps to add new password Entry in form dialog.
–add-calendar=FieldName: option helps to add new calendar in form dialog.
–text=Text: option helps to set dialog Text.
–separator=Separator: option helps to set separator. (default: |)
–form-date-format=Pattern: By default, date format depends upon your locale, but you can set a custom format using this option. Make sure to use the correct FORMAT, which is acceptable by the strftime function. (example: %A %d/%m/%y)
Below is a basic shell script that demonstrates how all of the above options can be used. This feedback script can take data and save it in a CSV file for record.
#!/bin/sh

zenity --forms --title="Feedback Form" \
	--text="Enter your feedback." \
	--separator="," \
	--add-entry="First Name" \
	--add-entry="Last Name" \
	--add-entry="Email" \
	--add-calendar="Birthday" >> addr.csv

case $? in
    0)
        echo "Feedback recorded.";;
    1)
        echo "No Feedback recorded."
	;;
    -1)
        echo "An unexpected error has occurred."
	;;
esac
Feel free to modify according to your needs.
6. Calendar Dialog
Calendar dialog helps to create calendar dialog in zenity. There are a few options available to use along with calendar dialog.
–text=Text: Options help to specify text in the calendar dialog.
–day=Day: Specifies the day that is selected in the calendar dialog must be a number between 1 and 31.
–month=Month: Specifies the month that is selected in the calendar dialog must be a number between 1 and 12.
–year=Year: Specifies the year that is selected in the calendar dialog.
–date-format=Format: By default, date format depends upon your locale, but you can set a custom format using this option. Make sure to use the correct FORMAT, which is acceptable by strftime function. (example: %A %d/%m/%y)
$ zenity --calendar --title="Date" --text="Click on a date to select that date." --day=25 --month=5 --year=2021
7. Color Selection Dialog
With the help of the color selection dialog, you can show a color palette.
$ zenity --color-selection --show-palette
8. Notification Icon
Use the –notification option with zenity to create a notification icon.
$ zenity --notification --window-icon="info" --text="Notification Icon Dialog"9. Progress Dialog
Progress dialog helps to create a progress bar.
$ zenity --progress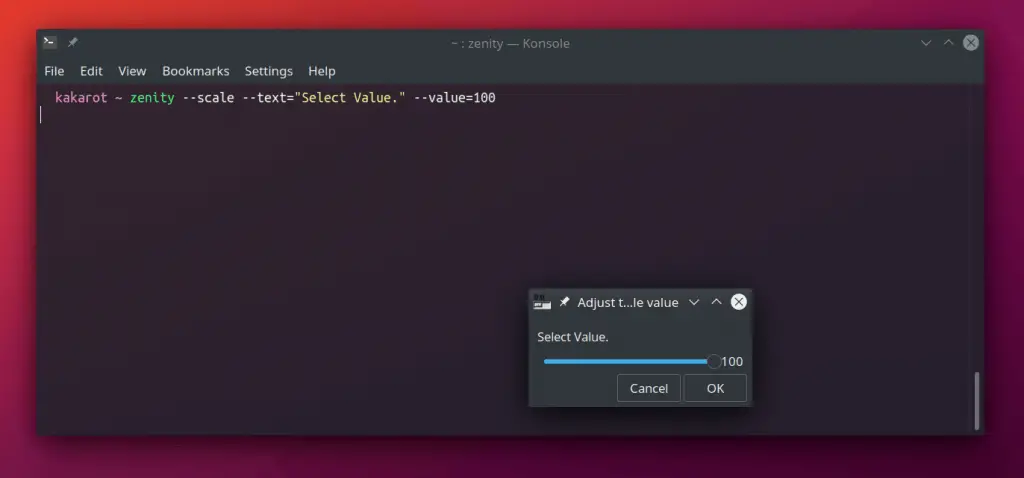
10. Scale Dialog
Scale dialog helps to create scale. Below are supported options by scale dialog.
–text=Text: option helps to set dialog text.
–value=Value: option helps to set initial value. (default: 0)
–min-value=Value: option helps to set minimum value. (default: 0)
–max-value=Value: option helps to set maximum value. (default: 100)
–step=Value: option helps to set step. (default: 1)
–hide-value: Hide value in dialog
$ zenity --scale --text="Select Value." --value=100
Final Thought
Zenity is small but has been a very useful application for script developers for a very long time. There is more application similar to it, but due to its simplicity and stability with the different operating system. It still stands out on top.