I need to add a new feature in My Android Application to take screenshots of the current activity screen and share images.
Throughout this guide, we will explain how to take and share screenshots programmatically in Android Studio.
Recently I was working with my Projects where I need to add a Share Button that will take a complete screenshot and Share Image using an explicit intent.
I’ll create a new Application from Scratch. Before that, I’ll share the workflow of our application with you, which we will build.
When an application starts, the user will click on the Share button to take a screenshot, and using explicit intent user can the share Image to supportable Applications.
Step 1: Create New Project
To create a new sample project, first, open Android Studio and Click on Create New Project

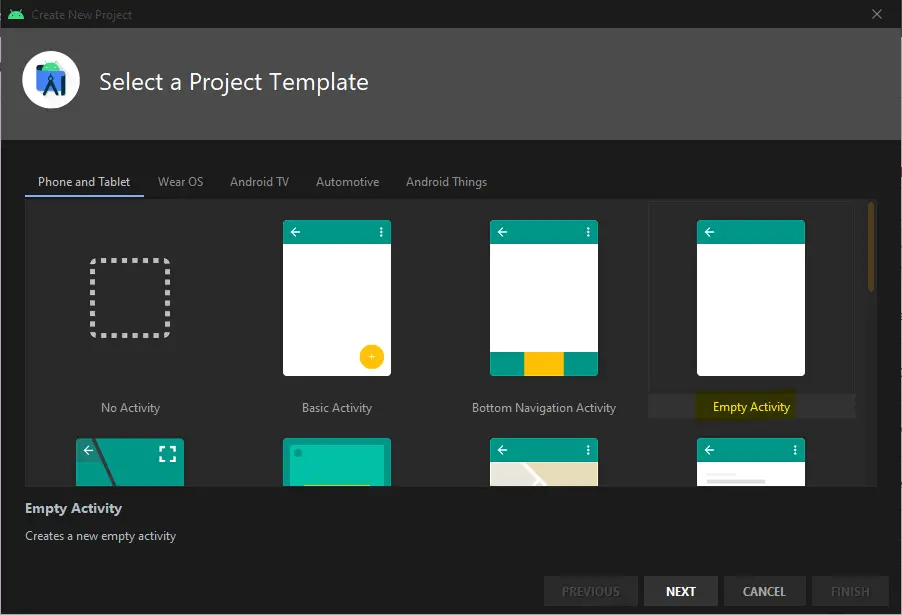
In this screen Select, a Project Template chooses the Empty Activity and click on the Next button to proceed ahead.
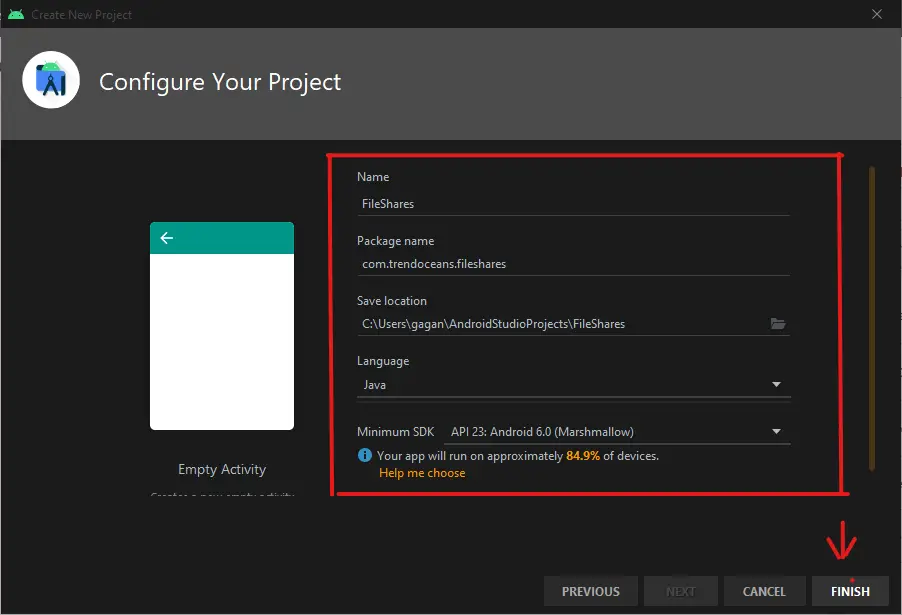
In this last screen, you have to provide the project name, package name in the Language option choose Java and click on Finish.
Step 2: Modify activity_main and string.xml
Once all required files get an imported copy, the below XML file to activity_main.xml.
For the missing ImageView File, create new Image assets under the res folder.
Modify strings.xml
On the above activity_main.xml, we have used string to store TextView data, and You can copy the below text or simply write your own.
Step 3: Update AndroidManifest.xml
We need to update AndroidManifest.xml to add User Permission like Read and Write support to store and read files from Storage.
This is an extra step for the device above AndroidSDK 29 to access a file from the External Directory file; else, the application will not be worked end up with ‘open failed: EACCES (Permission denied)’.
Please copy-paste the below code under the <application> </application> tag and you will get the error of missing Cannot resolve symbol ‘@xml/file_path’
To resolve the missing file_path.xml file, create a new XML folder under the res directory. After that, right-click on the XML directory, create a new XML resource file with a “file_path”, and press the OK.
Step 4: Write code to MainActivity
When you complete the above process, let’s write the code and complete the application workflow.
The first step is to instantiate the view object to MainActivity class to instantiate follow the below code.
Inside the onCreate method, add a clickListener to the button; before that, we have created a method to verify file permissions.
Don’t bother about the missing method. We will create a method very soon. Inside the onClick, we have created a function to take a screenshot when the user clicks on Share Button.
Step 4a: Create Method to TakeScreenShot
To resolve Cannot resolve method ‘takeScreenShot(android.view.View)’, click on the red bulb or press Alt + Enter to create a new method.
Inside the takeScreenShot method, copy-paste the below code to take a Screenshot of the MainActivity file.
Step 4b: Create Method to ShareScreenShot
The above method will take a screenshot and store it into Device Storage, and Now we need to share Images through explicit Intent.
Under the shareScreenShot method, copy the below code to get the URI of the recent screenshot and Share Image.
Step 4c: Create Method to VerifyPermission
This method will help you to request Storage Permission and verify the storage permission status.
Along with this code, make sure to add Read and Write permission in AndroidManfiest.xml to receive Permission Dialog.
Write down the below code into your MainActivity file.
Verify Code
If you missed something while following the code, please verify the code with the below code snippet to avoid any error.
Step 5: Run Application
In the above step, we have written code to take ScreenShot. Now it’s time to test our Application working.
To run the application, connect your physical device or Power Own Emulator using Shift + F10.
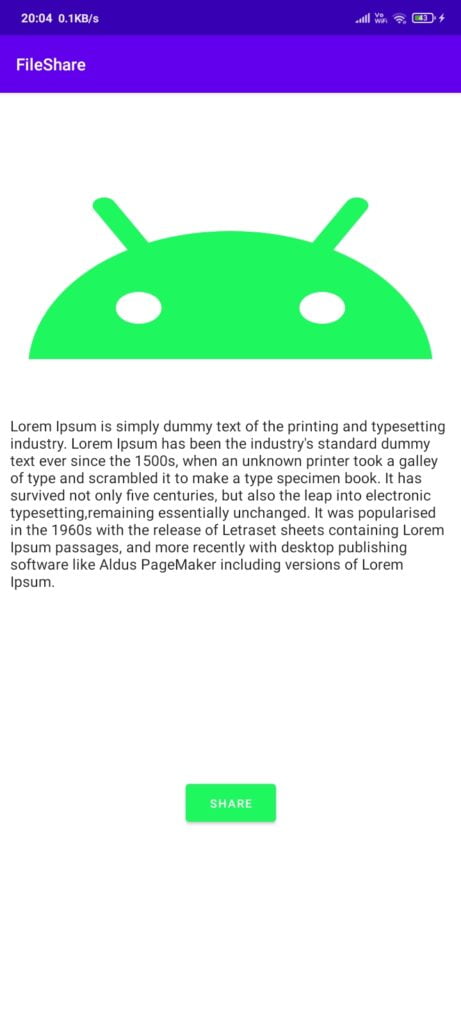
Screen 1
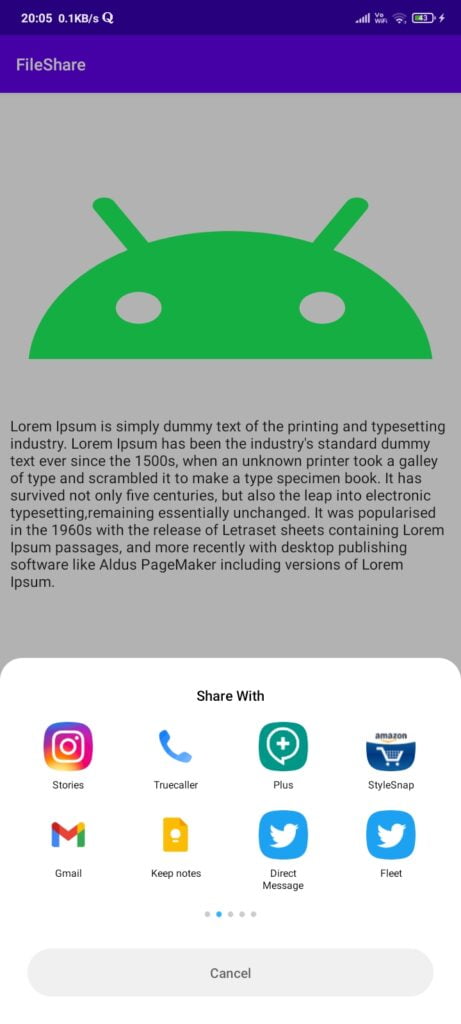
Screen 2
Wrap-up
That’s it we are able to create an application that can take a screenshot programmatically and share Image through the available application.
If you are stuck somewhere, please write down your issue in the comment section. We will try to resolve it, and even I’ll upload the project file to GitHub for better accessibility.
getting a fatal exception in this part of the code.
Uri uri = FileProvider.getUriForFile( this, BuildConfig.APPLICATION_ID + “.” + getLocalClassName() + “.provider”, imageFile);
any suggestion on how to resolve it?
If possible, please share a Logcat
use authorities string from manifest
thanks, buddy
it works for one activity if i use on another activity as well it as says file format not support
Have you tried to use BundleIntent with MIME Types?
this code is not taking Screenshot nor give any error or exception …. @Gagan Mishra
Please check with Log.d() to verify executions.
I want to take screenshot of webview and share via email. Please help.
This code is deprecated
view.isDrawingCacheEnabled = true
val bitmap = Bitmap.createBitmap(view.drawingCache)
view.isDrawingCacheEnabled = false
How i take screenshot for home and another screens