In computing, you might stumble upon an ISO image file. Have you ever wondered what the story is behind these files? How can you mount and unmount an ISO image in Linux?
What is an ISO file?
An ISO image, or “.iso” (International Organization for Standardization), is popularly known as an archive file that uses the ISO 9660 file system to distribute operating system or game files on CD/DVD media.
It compresses the file that can be easily written to an optical disc, disc-sector by disc-sector. Most of the popular Linux operating systems like Debian, Ubuntu, Fedora, Kali Linux, etc. are distributed in the ISO file format.
There might be a situation where you need to view the content inside this ISO file. That can be done on any operating system using the application except Linux, which can easily mount and unmount ISO image files without any applications.
In this beginner’s guide, you will learn how to mount and unmount ISO image files on the Linux system temporarily and permanently without any applications.
How to Temporarily Mount an ISO Image in Linux?
Open your terminal app using the Ctrl+Alt+t keyboard shortcut, and then navigate to the ISO image file directory.
$ cd Downloads/
$ ls
Below is the output of the above command.

It’s time to create a mount point directory where all the files will be mounted. In general, you should create a mounting point directory on the /mnt/ path that stores the mounted files.
We will follow the same principle by creating the isofile directory within the /mnt/ path using the following command.
$ sudo mkdir -p /mnt/isofile
$ ls /mnt/
Below is the output of the above command.

Once you have created the mount point directory, use the mount command with the ISO image file path along with the -o loop option (necessary to access archived files as a block device), as shown below.
$ sudo mount -o loop ubuntu-22.04-desktop-amd64.iso /mnt/isofile/Below is the output of the above command.

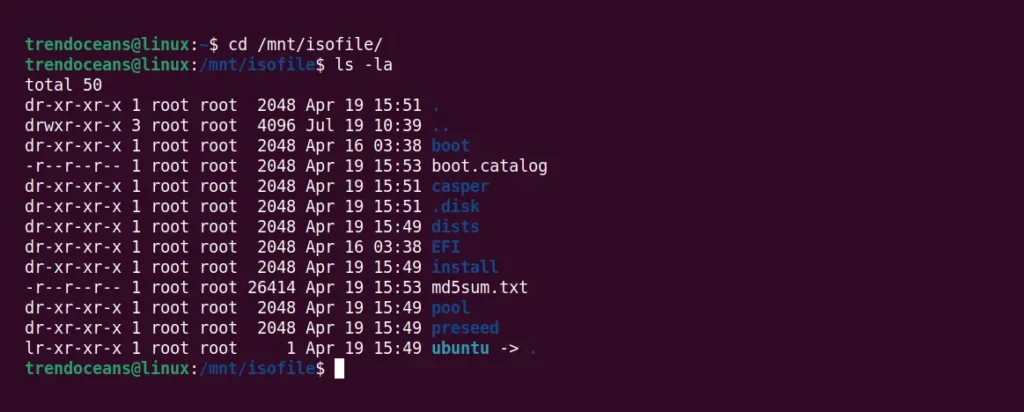
Above, mounted files are read-only. You cannot modify or change anything in the mounting location. However, to list the content of the ISO image file, navigate to a mount path and use the ls command, as shown below.
$ cd /mnt/isofile/
$ ls -la
Below is the output of the above command.
If the file is not visible or something went wrong, then you can verify the ISO image file is mounted to the target destination by using the following command.
$ df -HBelow is the output of the above command.
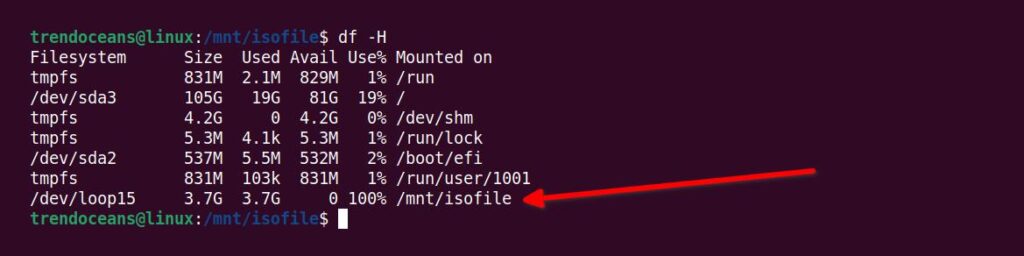
If you did not find the mount point, then check your ISO image file and repeat the above-mentioned steps.
How to Unmount an ISO Image in Linux?
Simply use the umount command by specifying the location of the mounting point to unmount.
$ sudo umount /mnt/isofileBelow is the output of the above command.

How to Permanently Mount an ISO Image in Linux using fstab?
The above steps can only mount the ISO image file temporarily in your Linux system. Sometimes, you want to permanently mount an ISO image file in Linux without repeating the same command on each boot.
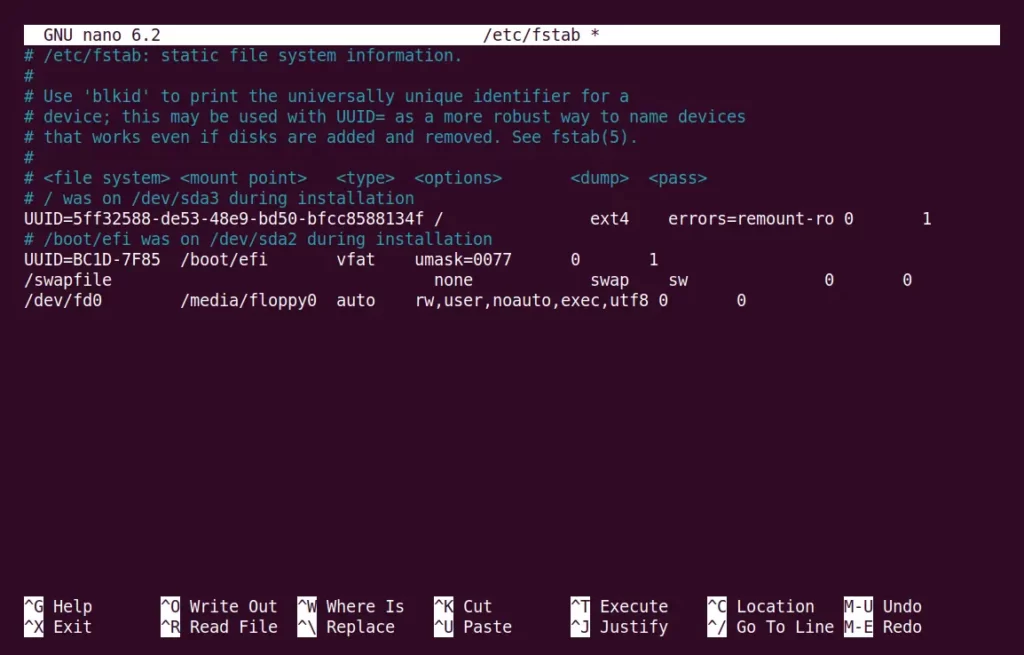
To permanently mount an ISO image in Linux, open the /etc/fstab file using your choice of text editor.
$ sudo nano /etc/fstabThe above command will open the /etc/fstab file, as shown below.
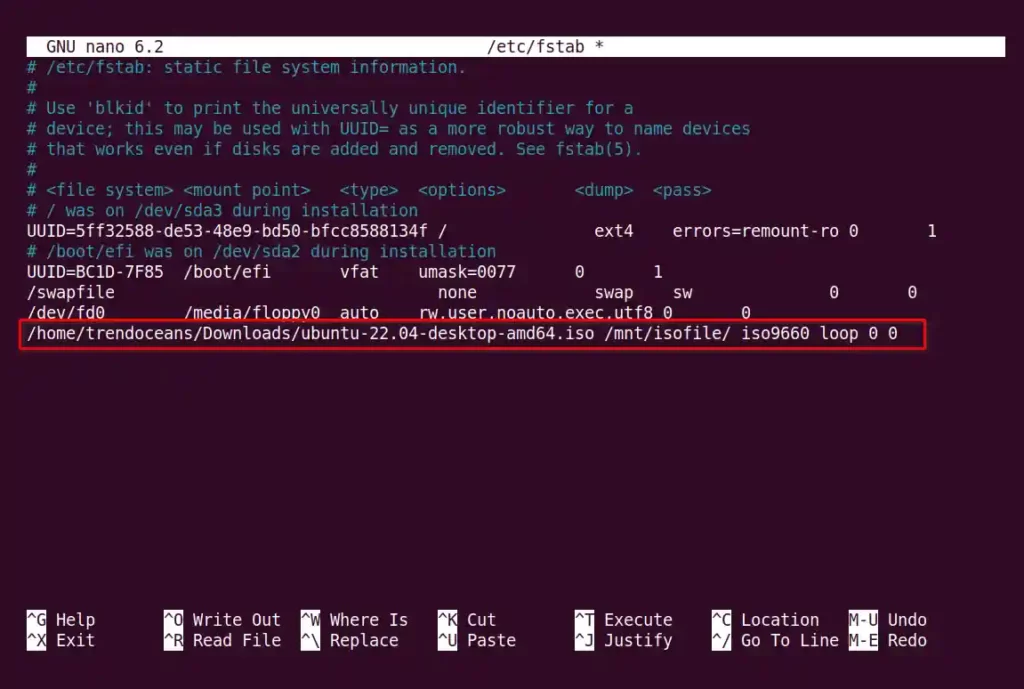
Then add the full path of your “.iso” file with the mount path at the end of the file, as shown below.
/home/trendoceans/Downloads/ubuntu-22.04-desktop-amd64.iso /mnt/isofile/ iso9660 loop 0 0
Below is the output of the above command.
Save and close the file, then execute the below command to verify the fstab file is configured without an error.
$ sudo mount -aBelow is the output of the above command.

If the output is error-free, then it means all the configuration is properly done and next time you reboot your system, it will automount the ISO file in the target mounting directory.
If you want to remove the auto-mounting of the ISO image file on boot, then repeat the above steps and remove the last line added in the fstab configuration file.
Also read: How to Mount Windows NTFS Partition in Linux
Bonus Tip! How to List ISO Image File Content
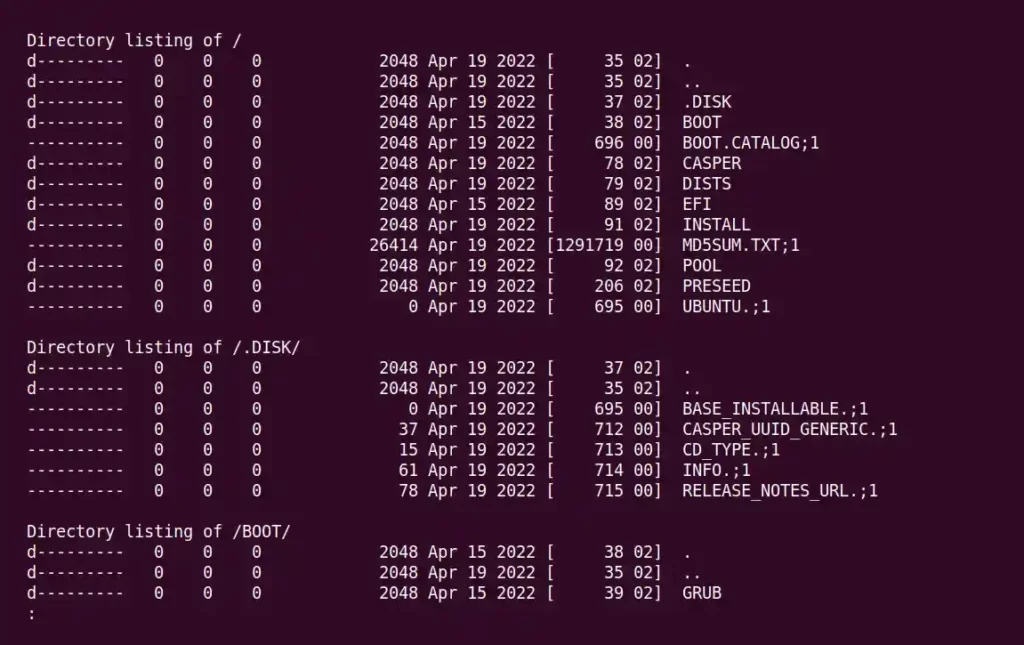
You can use the isoinfo command with the -l (Generate output similar to ‘ls -lR‘) and -i (Filename to read ISO-9660 image) options to list the ISO image file content without mounting the ISO image file by using the following command.
$ isoinfo -l -i ubuntu-22.04-desktop-amd64.iso | lessBelow is the output of the above command.
To get a clean output by just printing the image file content name without displaying the additional information, use the isoinfo -p -i imagefile.iso | less command.
Wrap Up
The above steps are the easiest way to mount ISO image files temporarily or permanently on a Linux system. However, distribution file managers like Nautilus for GNOME provide an integrated option for mounting an ISO image file.
But they don’t have an option to automount an ISO image file on boot. That’s all for now. If you have any queries or questions, then feel free to comment.