Virtualbox is not working after installing WSL, check out these steps to fix the issue.
There was a time when budding users were using Oracle VirtualBox to get familiar with Linux distributions, but times have changed since 2016, when Microsoft introduced WSL, and now you don’t need to download any extra software to use virtual technology.
You just need to enable “Window Subsystem for Linux”, and after that, you can download the distribution file from the Microsoft Store and get the experience of Linux on Windows technology.
If you have not yet installed WSL2 on Windows 10 or 11, then you must try it once. If it is suitable for you, then you can continue to use it, or else you can come back to VirtualBox and VMware.
To get started with WSL2, check out this post: How to Install WSL2 on Windows 10 where we have explained the installation process of WSL2.
Once you installed WSL2 just make sure to follow the below step, which will allow VirtualBox machines to get boot properly without throwing any error on your screen, which can save a few hours or minutes to fixing up the issue.
So let’s start with the process.
Fix VirtualBox Machine Not Booting Up
If you are also facing some kind of issue, like the VirtualBox machine not starting after the installation of WSL2, then you can follow the below method, which will fix the error.
Personally, in my case, the system was not able to boot my virtual machine. I thought it may be something I had tinkered with the machine, but when I checked the message, it said something like “init is conflicting”.
So, I stopped the WSL instance and turned off the WSLfeature from optional features, which made the VirtualBox run again.
Well, now I have identified the problem, so let’s fix this problem.
While fixing this issue, my search result took me to the StackOverflow post, where I found a command that resolves this issue, so you also just need to run the below command as an administrator in the command prompt or PowerShell, which will fix the VirtualBox startup issue after installing WSL.
> bcdedit /set hypervisorlaunchtype offAfter invoking the command, you need to restart your system to see the changes. Still, if the problem persists, then you need to uncheck the following options from optional features: Hyper-V and window sandbox.
And to revert these changes, you can run the below command:
> bcdedit /set hypervisorlaunchtype autoThat’s all there is to fix when VirtualBox is not working after installing WSL.
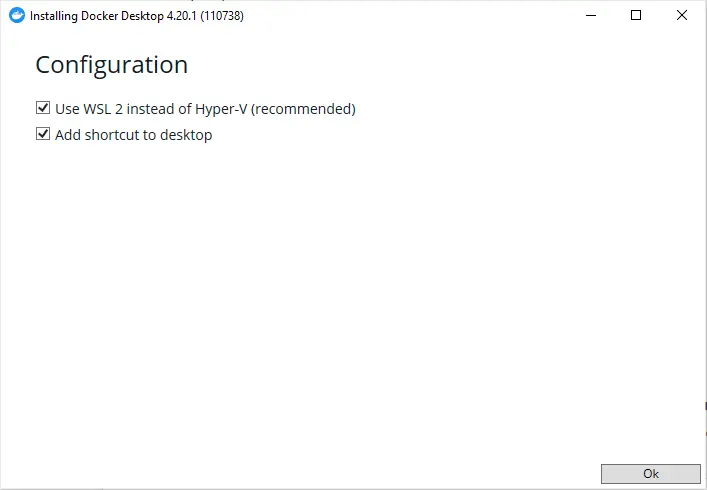
Apart from that, if you are using Docker, then make sure you have selected the recommended option “Use WSL2 instead of Hyper-V” to avoid any further compatibility issues.
If you find any other way to fix this issue, then do let me know in the comment section.
This doesn’t work for me. WSL2 uses the hypervisor, so setting `hypervisorlaunchtype` to off results in WSL2 failure to start (as well as Docker desktop).
If you can provide me with more details, that would be very helpful to help you out.
The way you suggest to run VirtualBox and WSL “at the same time” isn’t really at the “same” time. You have to switch the “hypervisorlaunchtype” setting to “off” to use either a 3rd-party hypervisor (VirtualBox, VMWare, etc.) or to “auto” to use WSL2. Changing between the two requires a reboot.
I found a different way to use 3rd-party hypervisors and WSL truly simultaneously. This is by reverting WSL to use version 1. See https://github.com/MicrosoftDocs/WSL/issues/590
. The command to use is:
wsl –set-version 1
Doing this allows leaving “hypervisorlaunchtype” to “off” and still allows WSL to run.
This does not work. As Elliot describes, for WSL 2 you need to reboot to switch. So the statement “at the same time” is misleading at best, especially because you specifically mention being able to use WSL2 and even link to installing WSL2, which I followed, and which stopped my VMs from starting up, then I turned off the feature, and they started up again, but then my WSL2 instance fails to start. This article feels like it was pumped out quickly, just to get revenue in. Very sloppy and does not result in what it promises.