It is very simple to install the latest release of Oracle VirtualBox on your Ubuntu Jammy Jellyfish (22.04) by following the instructions below.
Oracle VirtualBox is an open source software that allow you to create a virtual machine that can run a full x86_64 compatible operating system inside a hosting application that runs on Windows, macOS, Linux, or Solaris.
There are many virtualization software available in the market, such as VMware, QEMU, and so on, but today we will discuss how to install the latest version of VirtualBox on your Ubuntu machine, as well as the steps to install your first virtual operating system on VirtualBox.
So let’s find out which method you should follow.
Installing VirtualBox on Ubuntu 22.04
There are three methods for installing VirtualBox on Ubuntu 22.04 or any other Ubuntu/Debian-based distribution such as Linux Mint,LMDE, Pop!_OS, Elementary OS, and others.
And I’ll show you all the three different way to install VirtualBox on you computer such as:
- Install VirtualBox from command line: The simplest and quickest way to install VirtualBox is to install it from the terminal, but if you are not comfortable with CLI, you can follow the instructions below.
- Install VirtualBox from the Software Center (GUI): If you want to install VirtualBox without getting into a terminal, then use this method.
- Download and install the VirtualBox.deb file: It’s similar to a Windows exe file; you just need to download and run the application to install.
Install Virtual Box using the command line in Ubuntu
One of the simplest and quickest ways to install VirtualBox on your Ubuntu machine is through the terminal, where you only need to run one line of code to have VirtualBox ready for your use.
To install VirtualBox, launch your terminal and type the following command:
$ sudo apt install virtualboxWhen it prompts for a password, please enter the password and wait for the installation to complete.
If you want, you can additionally install VirtualBox extensions to support USB drives, webcams, and remote control access. To add this extra capability, copy-paste the code below into your terminal window:
$ sudo apt install virtualbox-ext-pack -yOnce done with the above steps, you can run VirtualBox from the terminal or from the activities or app menu.
Install VirtualBox from the Software Center (GUI)
If you are not comfortable with terminal, you can use the Software Center to easily install VirtualBox with just a few extra clicks.
I’m performing all the steps in Pop!_OS, so you might find the interface a little bit different, but the steps will be the same for other Ubuntu-based distributions.
Step 1: Press the “Super key” and search for “Software Center”.
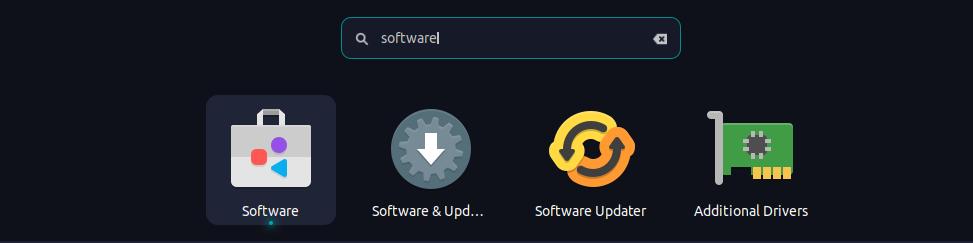
Step 2: After launching the Software Center, look for the magnifying glass in the upper left corner. Once you find the magnifying glass, click on it and type “virtualbox”.

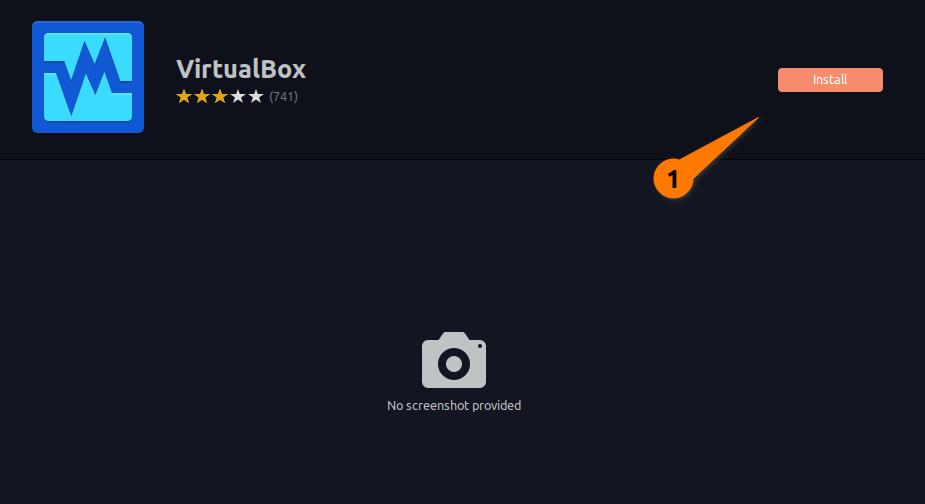
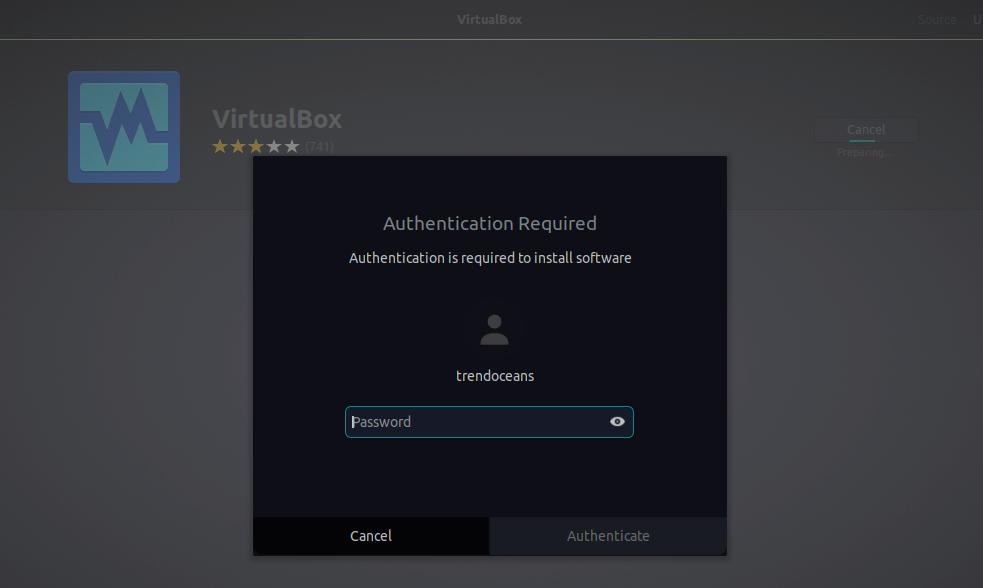
Step 3: Next, you need to click on the “install” button, which will bring up the authentication screen for you so you can enter your sudo password and proceed with the installation.
Step 4: Once the application is installed, you can run VirtualBox from here itself, and later, whenever you want to run VirtualBox, press the “Super key” and search for “Virtual Box”.
Quite easy to follow, right?
Check out this article if you want to share a folder on your host and guest machines after installing any operating system.
Install VirtualBox from .deb binary package
The best part of this method is that you will find the latest version of VirtualBox on your Ubuntu machine over the conventional method because the repository doesn’t have the latest version and you also cannot use the PPA, which throws the dependency issue when you try to install an application.
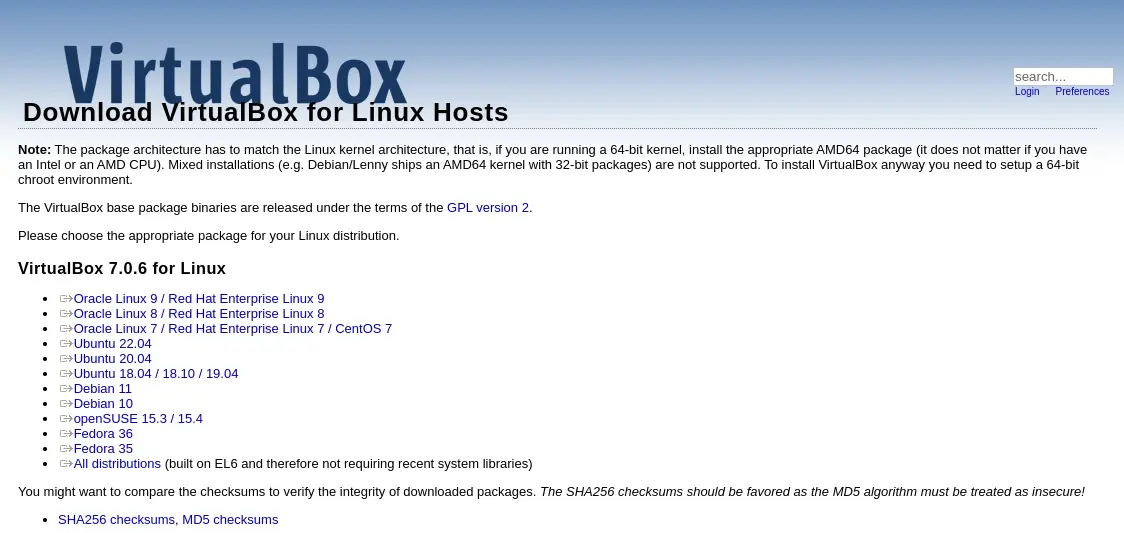
To start the procedure, you need to first download the VirtualBox binary package as per your Ubuntu or Debian version from the official webpage.
You can click on the below button to be redirected to the Oracle website.
Once the page is loaded, select the binary file as per your distribution from the list of binary files. I am following these steps on Ubuntu 22.04, so I will choose Ubuntu 22.04.
If you are using Linux Mint or Pop!_OS but you can’t find which VirtualBox file you need to download, just execute the below code, which will solve your concern by displaying the version.
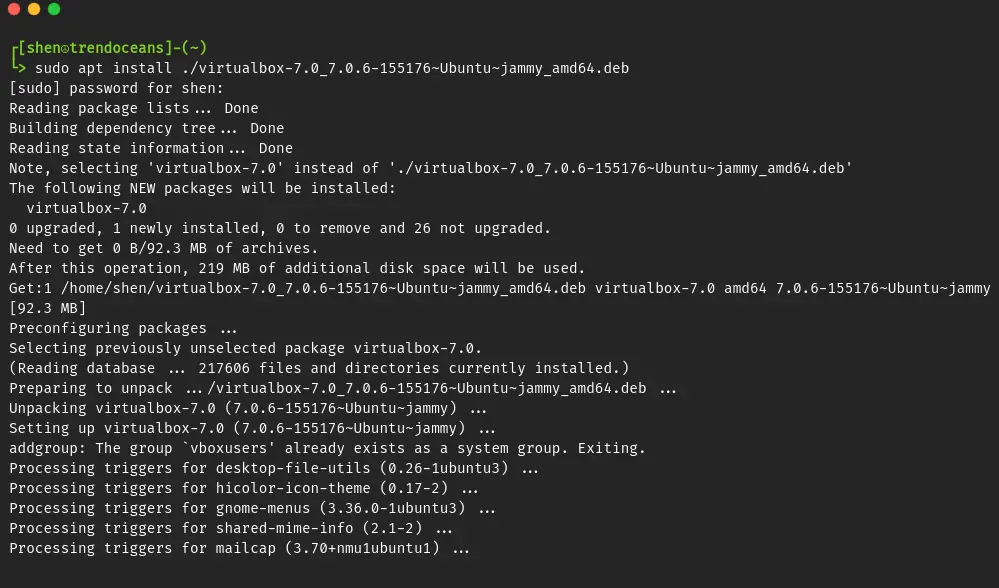
$ cat /etc/os-release | grep VERSIONAfter the file is downloaded, you can install VBox by running the following command on your Linux terminal: First, open your terminal and change the path where the file is located, and then execute the below code.
$ sudo apt install ./virtualbox-7.0_7.0.4-154605_Ubuntu_jammy_amd64.debIf you want you can also use GDebi installer to install virtualbox-x.x_x.x.x-.deb file .
Once the VirtualBox installation is completed, install the VirtualBox tool for extra support.
$ sudo apt install virtualbox-ext-pack -yAnd that’s all.
You can now access VirtualBox from your AppManager by invoking “VirtualBox”.
How to Uninstall VirtualBox from Ubuntu
Whether you installed VirtualBox from the Software Center or a binary package, it’s easy to remove it from your Ubuntu computer.
You just need to invoke the below command, which will remove VirtualBox along with other dependencies that were installed with it:
$ sudo apt remove virtualbox virtualbox-*If you want to completely remove all configuration files and settings associated with VirtualBox, you can use the below command:
$ sudo apt purge virtualboxBut if you prefer to uninstall applications from the Software Center, then you need to open the “Software Center” and uninstall VirtualBox from the “Installed” list.
Suggestion for you: The Right Way to Remove Apt, Deb, Snap, and Flatpak Packages on Ubuntu
Wrap up
That’s all it takes to install and uninstall VirtualBox on Ubuntu or any other Debian distribution, and after completing the installation, be sure to learn how to install the OS in VirtualBox for the first time.
If you are facing any issues while installing, do let me know in the comments. We will be happy to fix it up.