After ditching CentOS 8 Linux support now we left two option Stream and Vagrant.
In this guide we will explain how to install CentOS Stream 8 on your system.
Prerequisites
- Internet connection
- Download CentOS Stream 8 DVD ISO Image.
- USB drive 16GB
- A minimum of 8GB hard disk space
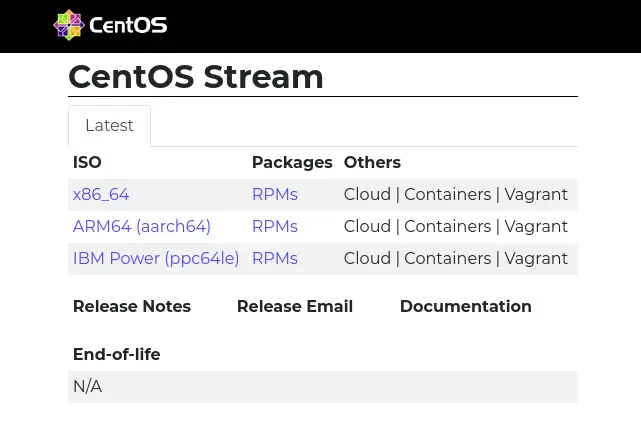
Step 1: Download CentOS Stream 8 DVD/ISO
First you need to Download Centos Stream 8 DVD ISO Image from official site and select x86_64 ISO file.
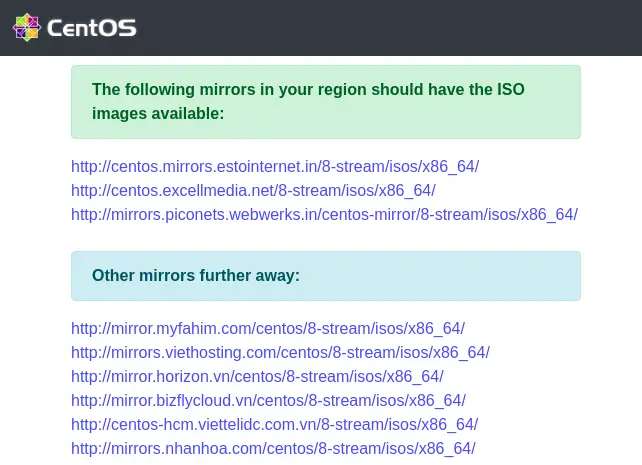
Select any mirror list and most prefer to choose from the first 3 mirror link,After that download file which end dvd1.iso
Step 2: Boot CentOS 8 Stream from bootable USB
After Downloading ISO file you need to make usb bootable for that you can use Etcher for Linux, and for Windows Rufus.
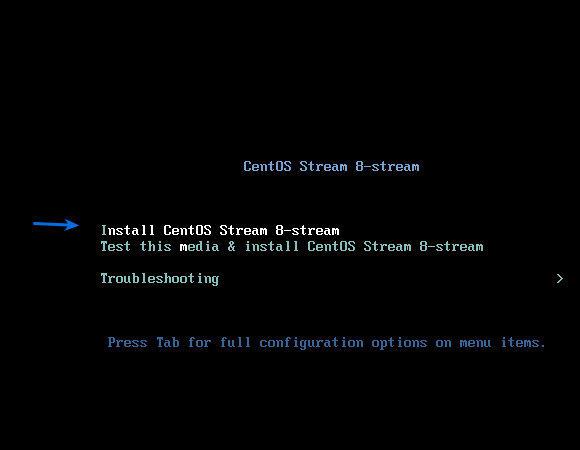
Next Step is to boot your system from boot menu select the bootable device and wait for CentOS Stream 8-stream boot screen.
In this screen select the “Install CentOS Stream 8-stream” using enter click,for up and down use arrow key.
Wait for some time to initialize boot process.
Step 3: Install CentOS 8 Stream
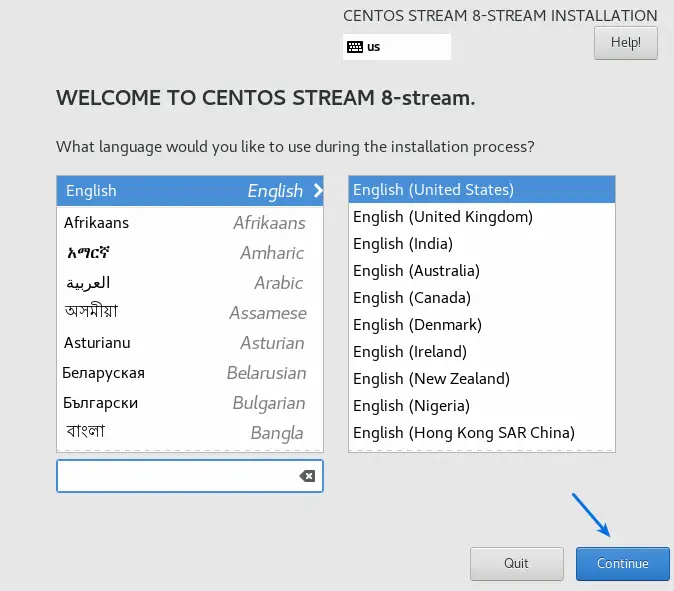
The first option you will ask you to set your Default language. I have choose default options. You can search or scroll up and down for different language then click on Continue.
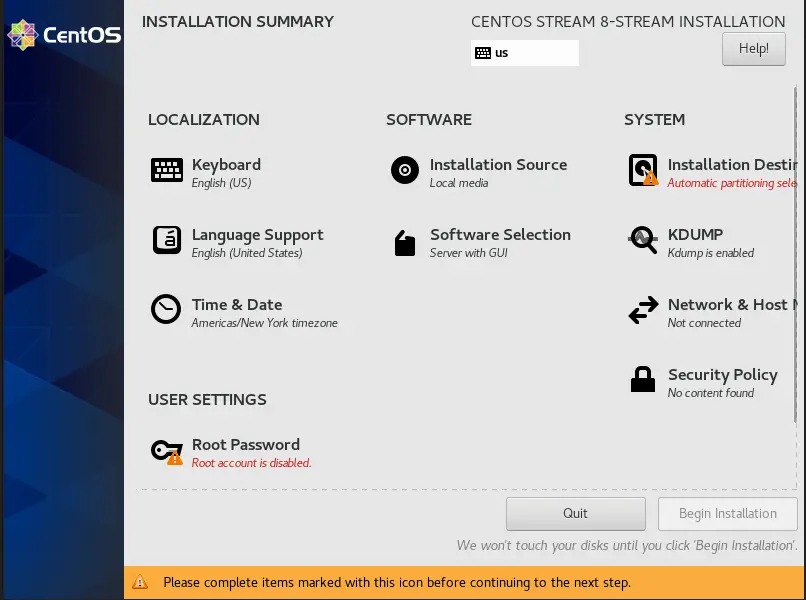
In this Installation screen you will see the current summary of installation process.
On the bottom you will see the highlighted message “Please complete items marked with this icon before continuing to the next step.“
So,we need to inspect and resolve the issue which is highlight on screen.In my case Installer found two issue
- Automatic partitioning select
- Root account is disabled
We will inspect this following Options later,First we go though step by step first option is Keyboard.
Keyboard
I have selected the default “English (US)“,If you want to change the keyboard layout then change it according to your preference then click on Done.
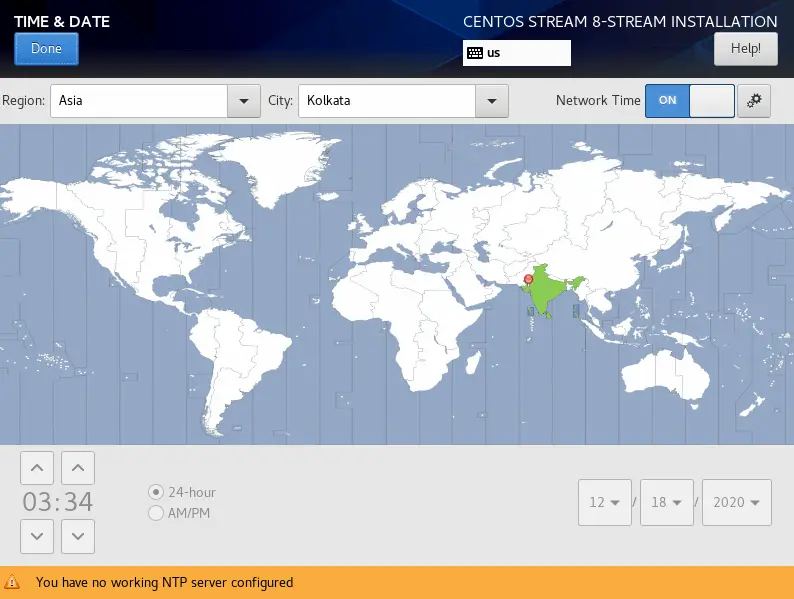
Time and Date
Now move to the time and date Option to set the time and date for your CentOS 8 Stream.
To update time and date you can choose either map pin or drop down option like Region and City, for accurate positioning use drop down options and for Network Time you need to configure ntp server.
After confirming Region and City then click on Done.
Read this How to Install and setup Selenium with Firefox on Ubuntu
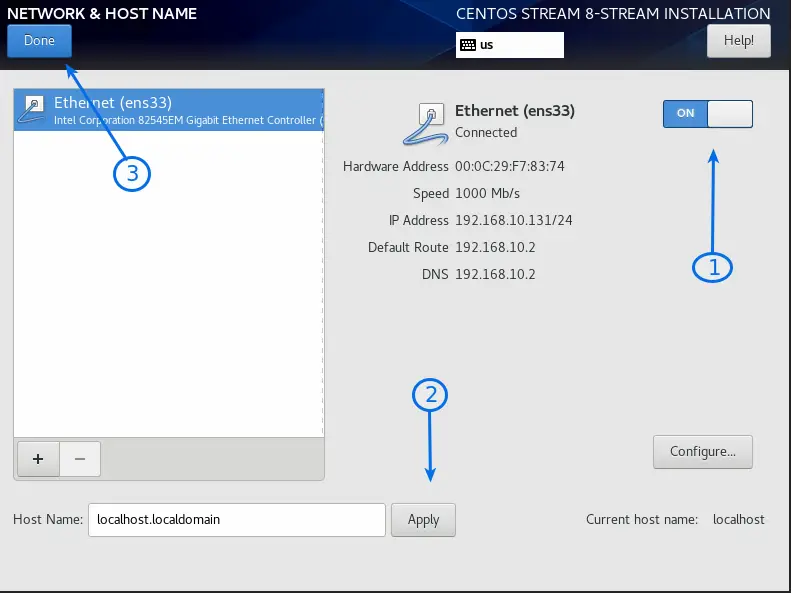
Network & Host Name
In this setup wizard you get the option to select the network device options and you can also change the hostname.
In my case I have single Ethernet option,To enable click on no.1 switch it will get connect automatically if you use proxy or any advance configuration then click on “Configure“.
If you want to change hostname then replace the “localhost.localdomain” with your choice of hostname.
After completing this step click on Done Button.
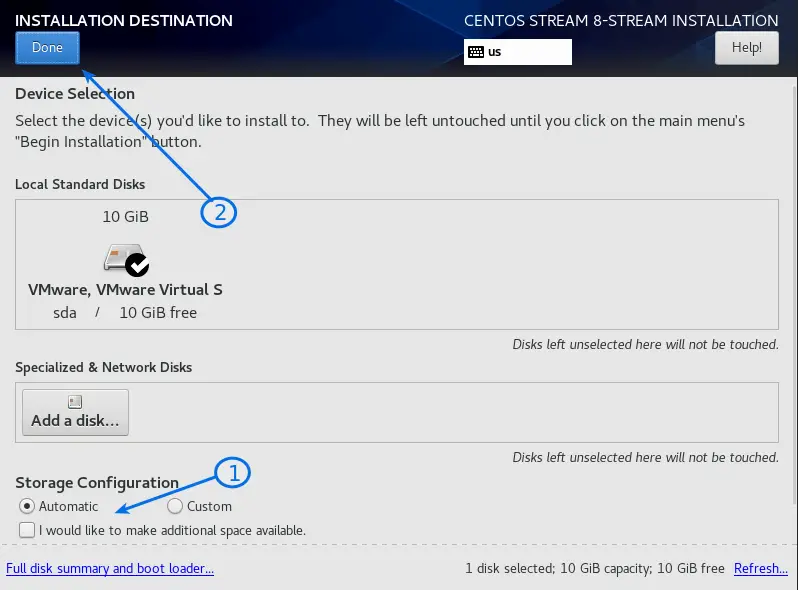
Installation Destination
In this step you need to tell installer to select specific location to install Centos 8 Stream in your Hardisk.
In my case there is Single Hardisk,When you have multiple hard disk then make sure to choose right device.
For this guide purpose I have selected automatic Storage configuration,if you want custom configuration then click on custom.
If you want to add network device then click on “Add a disk”.
After acknowledging what you have select then click on Done.
Set Root Password
A setup wizard give you the options to set root password.You need to provide strong password for root user because you know “with the great power comes great responsibility”.
For demo purpose I have kept simple password and Installer will alert you when you set the weak password.
If you set the weak password then you need to Click Done button twice.

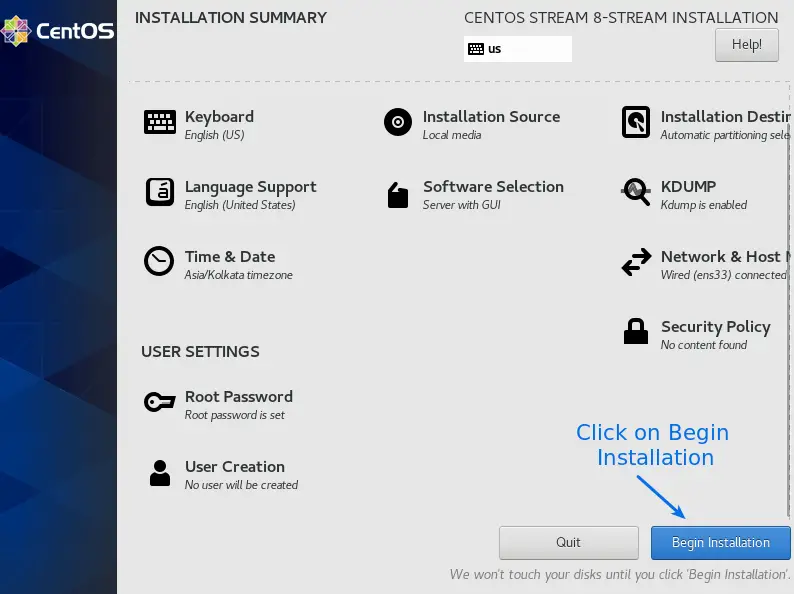
Ready to Install
After inspecting and modification you are now ready to Click on Begin Installation.
This is the last options after that installation will start if you need any modification to do know then click on Begin Installation.
When you are ready click on Begin Installation.
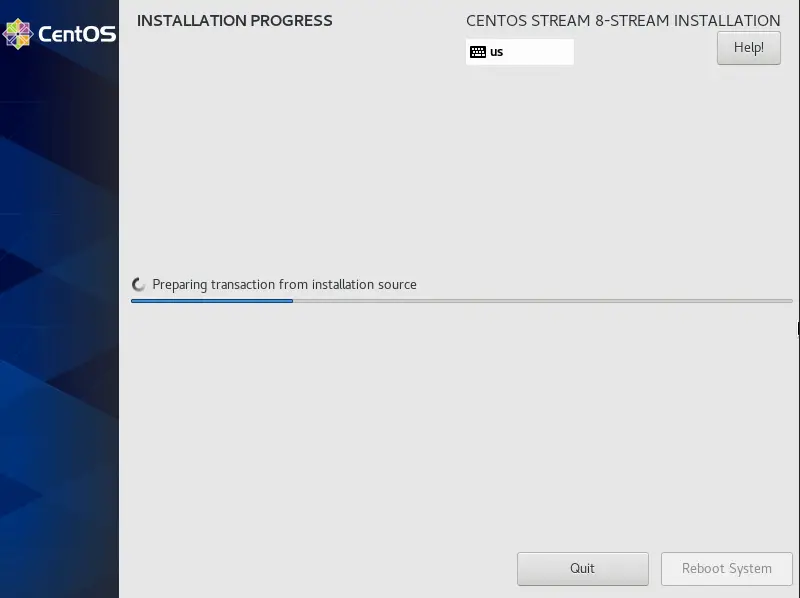
CentOS 8 Stream Installation is in progress,Wait for the Centos to get install on your Hard Disk.
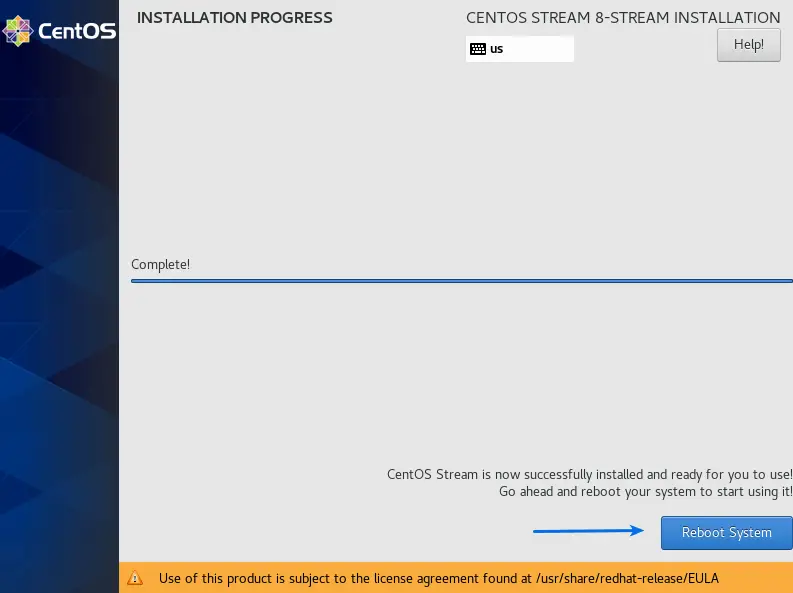
Installation of CentOS Stream 8 is successfully completed and it’s ready to use,Click on Reboot system to restart Centos Stream 8 from disk.
Before that remove USB drive from your system.
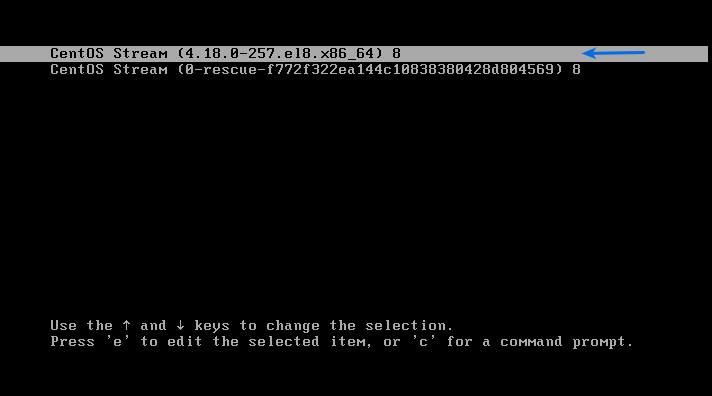
Now select the first option to boot in CentOS Stream.
After getting boot we need to agree License agreement and Create User account.
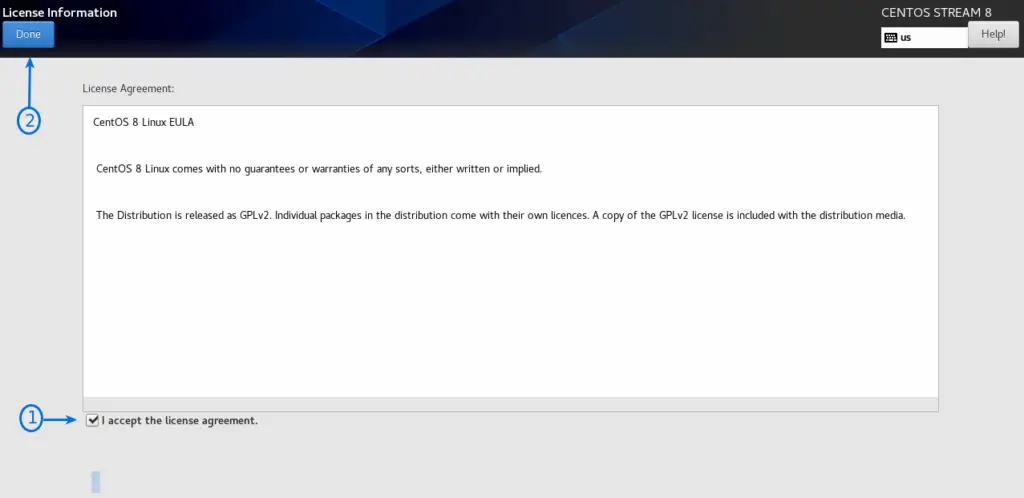
First click on License Information
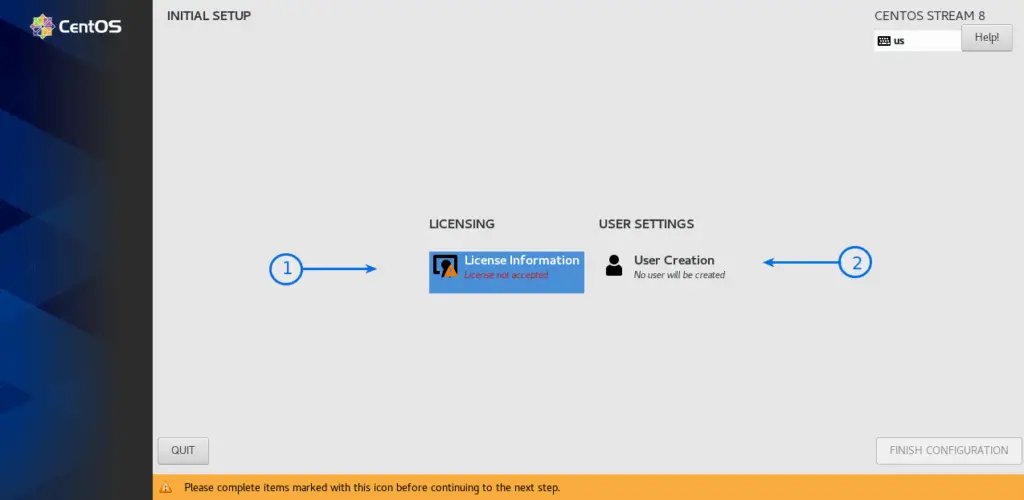
Read the License agreement or Directly click on “I accept the license agreement” after that click on Done.
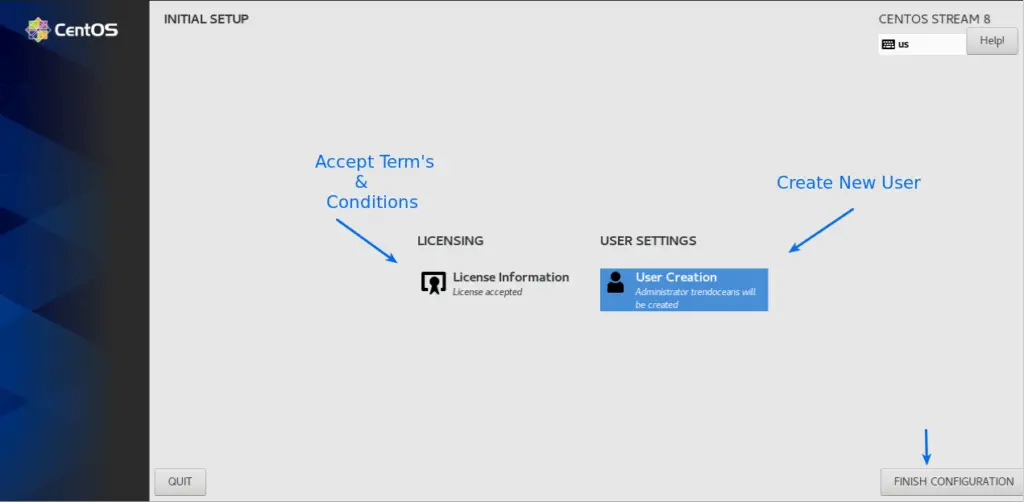
The next step is to create user account,Enter all the basic details of user and check the “Make this user administrator and required password”
This is the last done button to experience Centos Stream 8.
All the check! Now click on Finish Configuration.
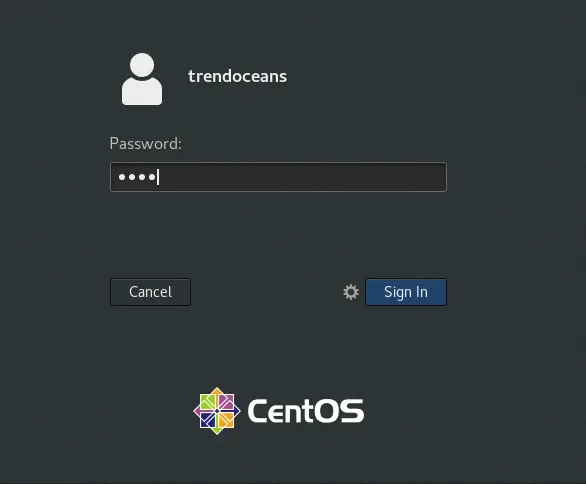
Now enter password and get ready to experience Centos Stream 8 on your System.
This is the pretty and simple way to install CentOS on your machine.I hope so you able to install If you stuck somewhere while following guide,feel free to comment us.