Here you will learn how to install Chromedriver on Ubuntu or other Linux distributions and test its functionality with Selenium using a short Python script.
Selenium is an open-source tool or framework that helps testers or developers run automated tests on web browsers using any of these popular languages for testing: C#, Groovy, Perl, Java, PHP, Python, Ruby, and Scala.
You can install and use Selenium on major operating systems like Windows, MacOS, and Linux with ease. However, you need a necessary driver to automate browser tasks.
Like for the Firebox browser, you need the Gecko driver, and Chrome requires the ChromeDriver.
Through this article, you will see how to install Chromedriver and Selenium, as well as will run a sample Python script to verify our installation and ensure that everything is working correctly.
Prerequistes
In this guide, you will use a Python program to automate tests, so to move ahead, you should make sure the following applications and dependencies are preinstalled:
Once the prerequisite is fulfilled, you can move to Create Virtual Environment.
 Create Python3 Virtual Environment
This step is not necessary, but I suggest you create a Python 3 virtual environment, which will ensure that your old Python programs do not interfere with the new project.
But how will virtualenv keep my old programs safe to run without error? Once you install and activate virtualenv, it will create a separate or isolated environment where you can install different Python libraries or modules without touching your old available libraries.
Read this:- How to install Python PIP on Windows, macOS, and Linux
Once you are satisfied with the above explanation, you are bound to install virtualenv using the below command:
$ sudo pip3 install virtualenvThe result of the above command, as shown below:

The next step is to create a project directory where you will install Selenium. To create a directory, pass the following commands:
$ mkdir -p selenium_chrome/driversThis will create multiple directories in the current folder. After that, change your current directory to selenium_chrome.
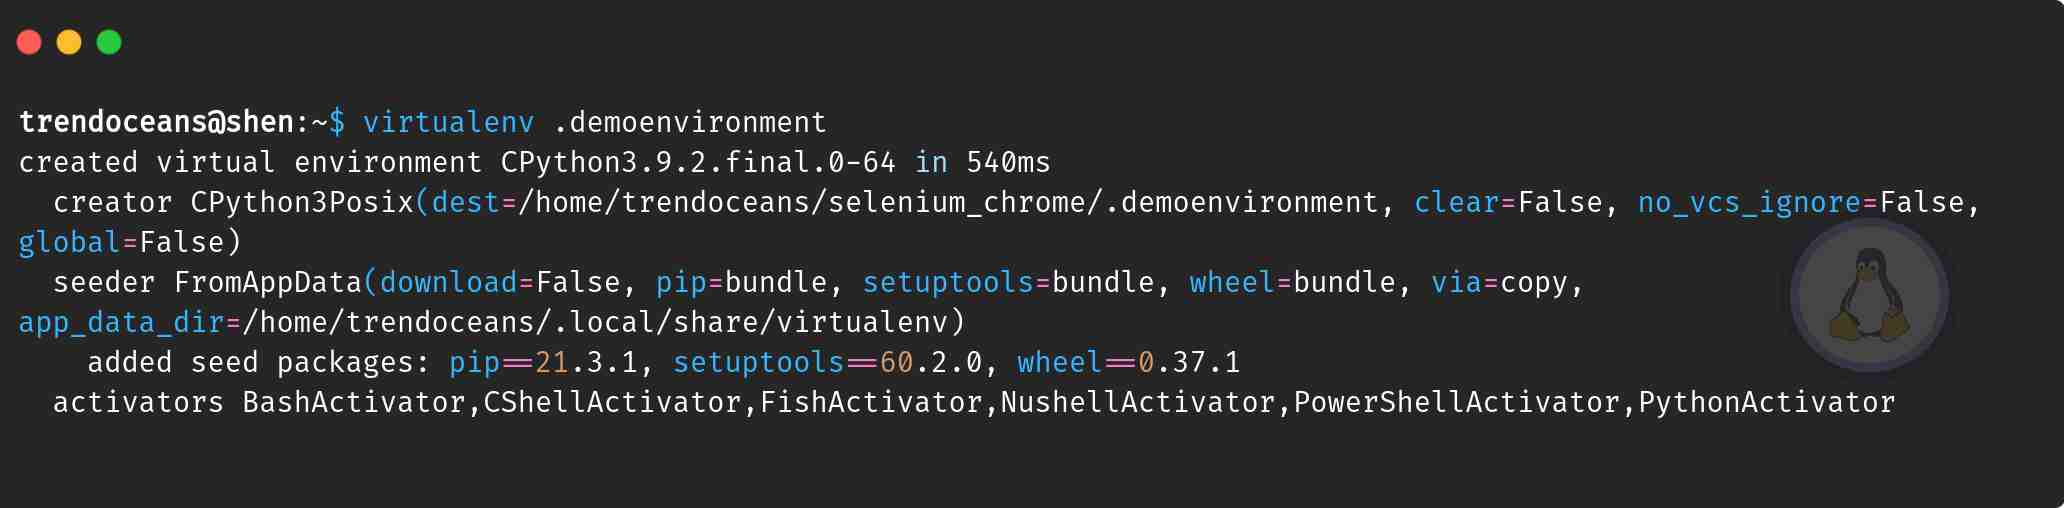
$ cd selenium_chromeThis is a final step where you will create a python virtual environment in the above directory using the virtualenv command:
$ virtualenv .set_your_virtual_environment_nameThe result of the above command, as shown below:
After that you need to activate virtual enviornment by running the below command:
$ source .your_virtual_environment_name/bin/activateOnce the virtual environment is enabled, you will see the changes shown below.

 How to Install Selenium Python Library
Next, after creating a virtual environment, we will install the Selenium library from the pip command, and then we will move ahead for getting ChromeDriver.
$ pip3 install seleniumThe output of the above command

 How to Install Chrome Driver for Chrome Browser
You may be thinking, “Why do we need to install the Chrome driver? If you are thinking, then let me clear it up.
The reason behind downloading the Chrome driver is to support automated testing; without the driver, your script will not be able to launch Chrome with a required task such as navigating, user input, JavaScript execution, and other operations.
Now you may understand why Selenium needs Chrome as a companion.
Download ChromeDriver
Steps to Install a chrome driver in Ubuntu as follows: First go to the official page .

Once the page gets loaded, you will see a different release or version of the Chrome driver.
To download ChromeDriver, you should know which version of the Chrome browser you are currently using. To check Chrome’s version, follow the below steps.
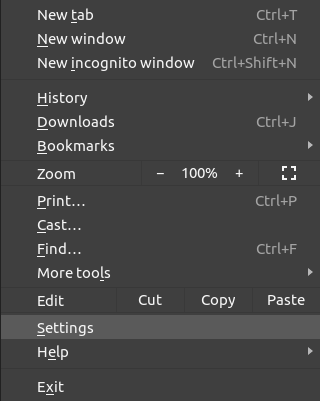
- Step 1. Click on
 the three dots which is below the close button
 - Step 2. Next step is to click on Settings
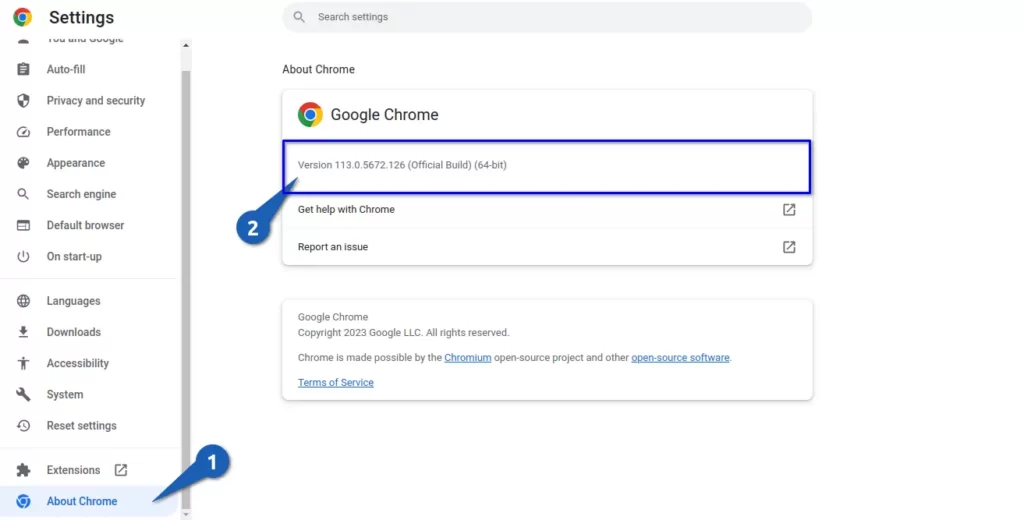
Step 3. Go to About Chrome tab and check the chrome version. In my case chrome version is 113.0.5672
Once you are confirmed about a Chrome version, let’s download the Chrome driver.
In my case, I’ll download ChromeDriver 114.0.5735.16, and you may download the Chrome driver according to the respective Chrome browser version.
If you have downloaded the wrong version of ChromeDriver, then it won’t show up in the browser, so make sure that you have downloaded the right version.
When you click on the respective version, it will redirect you to the index page to download the Chrome driver for the Linux-based system.
Once the file is downloaded, extract it and move it to the driver directory of a project directory.
$ unzip ~/Downloads/chromedriver_linux64.zip -d ~/selenium_chrome/drivers After that, pass the ls command to verify whether the file was extracted as per our intention or not.
$ ls -l drivers/ Write Basic Code in Python to use Selenium
Once you are done with the above process, we will write a short Python script to test the workings of Selenium on a system.
To write a script, you can use any command-line editor such as vim, nano, emacs, or any other GUI editor.
Before writing the script, let’s first understand what our script will do.
Basically, this script will open a Chrome browser automatically, and it will go to a webpage called “trendoceans.”
After that, the script will fetch the webpage title, and once it fetches the information, it will wait for 10 seconds before the browser gets closed automatically, and the webpage title will display on the terminal screen.
I believe you are in the virtual environment, then pass the following code to create a new Python file:
$ nano seleniumscript.pyAfter that, copy-paste the below code, and to save, press Ctrl +O to exit, use Ctrl + X.
import time
from selenium import webdriver
from selenium.webdriver.common.keys import Keys
browser = webdriver.Chrome(executable_path="./drivers/chromedriver")
browser.get('https://trendoceans.com')
print('Title: %s' % browser.title)
time.sleep(10)
browser.quit()
Run Python Script
You are almost done with the setup.
Now it’s time to check whether everything runs as per our plan or not. To check, type the below command:
$ python3 seleniumscript.pyOnce you run the above script, it will load the web page, and after getting the web page title, a browser will close automatically after 10 seconds.
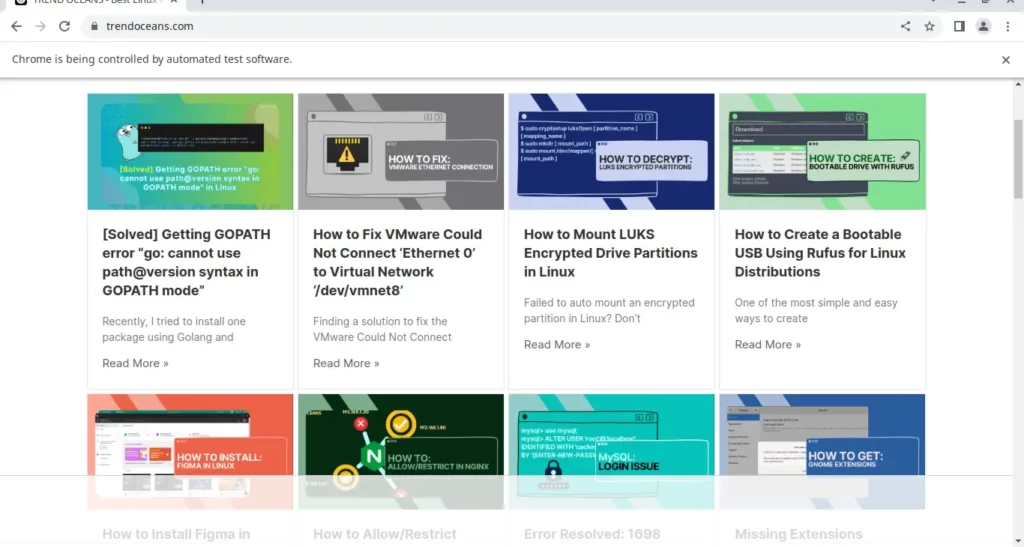
The very next moment webpage title will be displayed on your terminal window.

Wrap Up
That’s all for this guide, in which you learned how to download and use ChromeDriver with Selenium on Ubuntu. Personally, I have tested installation on Debian 11 and Ubuntu 20.04, and I believe it works on all major Linux distributions.
- Step 1: Install Python & PIP
- Step 2: Install Google Chrome and ChromeDriver
- Step 3: Install Selenium by running
pip3 install selenium - Step 4: Run Short Script to test
If you are stuck somewhere, please feel free to comment down and If you like the article, or somewhere I missed something, please let me know to make this article more useful.
chrome window is not opened how it possible
I request you to read an article once again.