We believe you already know much about Visual Studio Code. Still, I’ll give a short introduction to those who don’t know what is Visual Studio Code and why they should switch?
In short Visual Studio Code was released under the MIT License. It is lightweight and a powerful open-source, cross-platform code editor to write a program with wide support of multiple languages such as C++, C#, Java, Python, PHP, and many others too.
Visual Studio Code does not only support multiple programming languages. You can even download and install the extension to ease your work with enormous support.
I would say currently one of the finest tools to write source code.
Through this article, we will see how to Install Visual Code in Ubuntu and Other Debian-based distributions. There are many ways to install Visual Code in your System, such as using:
Install Visual Code using Official Packages
Install Visual Code using Snap Store
Install Visual Code using apt manager (Ubuntu or Debian Based User)
Install Visual Code using yum (Centos/RedHat)
It’s up to you which method you will prefer to Download Visual Code for your Linux-based system.
Install Visual Code using apt Package Manager
Why I choose this step first for Installing Visual Code from APT Package Manager despite other options, The main reason behind you does not need to follow many steps with one command all done.
Step 1 : Open Terminal Window
We will execute the installation command on the terminal for that open Terminal window. To open a terminal in Ubuntu, press Ctrl + Alt + T, this shortcut may vary as per other Ubuntu or Debian-based distributions; some of the common shortcuts are Super + T.
Step 2: Install Visual Code
To install Visual Code, do-copy paste the below command. Before that, make sure to update the repository to get the latest visual code from the Ubuntu repository.
$ sudo apt install code -y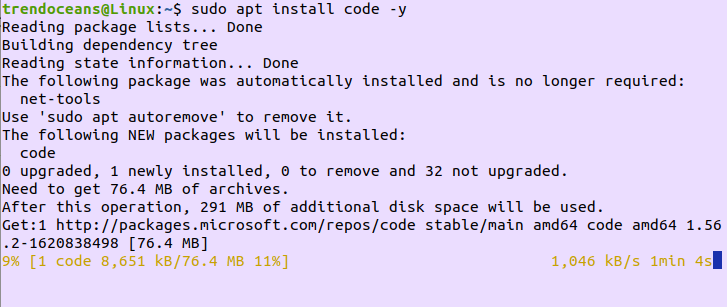
Step 3: Run Visual Code
Once the Visual Code is installed, type the “code” to run from a terminal, If you wish to run an application from the Application Manager.
Press Super Key >> Search Code >> Click on Visual Studio Icon to run application.
That’s all to Install Visual Code from APT Package Manager. In the next section we will see how to Install Visual Code using Official .deb Packages.
Install Visual Code using Official Packages
If you want to download Visual Studio Code from the Official Stable or Insider .deb package provided by Microsoft, follow the below step.
Let see How to Download and Install Visual Code from Official Packages (Deb/RPM) .
Step 1: Download Visual Code Pacakges
The first step is to Download Visual Code Packages as per your Distributions. To download, click on the below button, and it will redirect you to the official webpage. From there, you can download the package.
Once the page gets loaded, you will have two options to download. If you are using Ubuntu or Debian-based distributions, then click on .deb, and If you are using RedHat, Fedora, SUSE, go with .rpm packages.
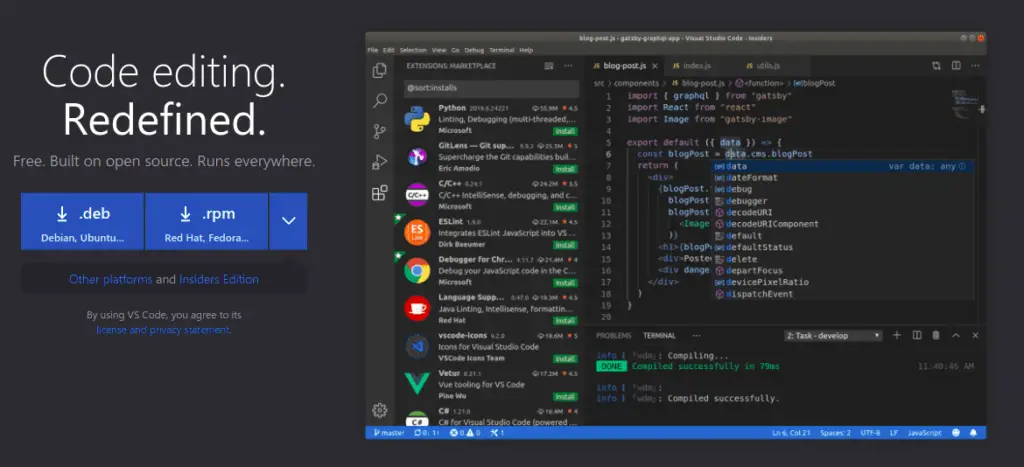
You have other options, too, like Other platforms and Insider Editions. If you want to have the latest features, go with an Insider package and download as per your system. Make sure that this version is not stable so that you may face some unexpected glitches.
Step 2: Install Visual Code Packages
Once the files get downloaded, open a terminal and go to the directory where the file is downloaded, and pass the following command to install Visual code.
$ sudo dpkg -i code_1.55.2-1618307277_amd64.deb Under my circumstance, I have downloaded visual code inside the Download folder, So I’ll change the current working directory using the cd command. With the help of dpkg packages, we can easily Install them.
If you are not able to get what above command do? We will give you the explanation:
- dpkg :- Debian package which is responsible for managing .deb package
- -i :- Flag require for installation
- code_1.55.2-1618307277_amd64.deb :- Visual code file version may be differ

After that pass the sudo password and wait for while to complete installation.
Step 3: Run Visual Code
From the above step, we can install Visual Code on the Ubuntu system, and now it’s time to see How to run Visual Code from the terminal and GUI way.
If you wish to run Visual Code from terminal pass the below command and for GUI way press super key and search for “code”
$ code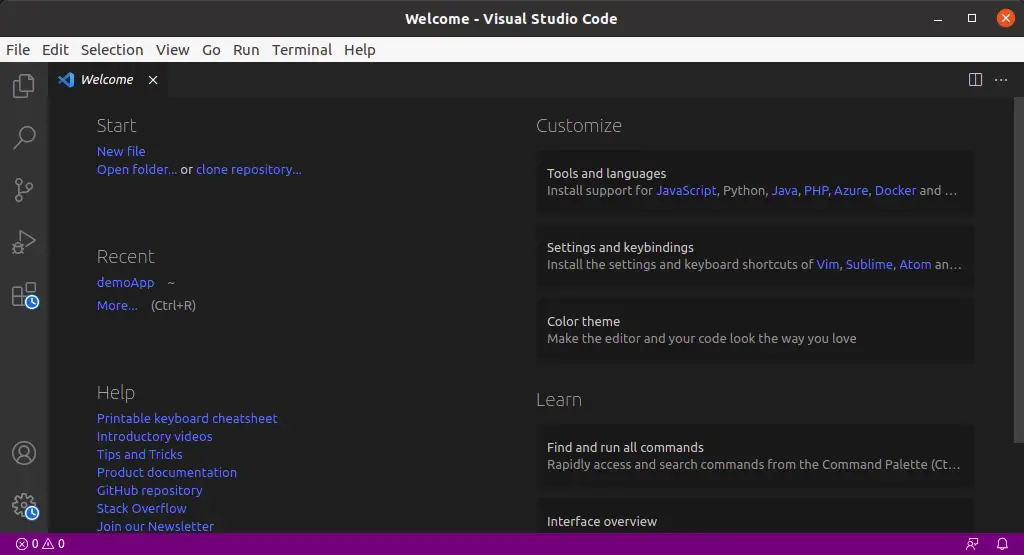
Wrapping Up
That’s all to Install Visual Code on Linux using .DEB packages and from apt package manager for Ubuntu & Debian-based distributions.
Read this to :- How to set or change the temporary hostname in Linux
And If you want to know another method so please drop a comment.
If you are stuck somewhere, please feel free to comment down and If you like the article, or somewhere I missed something, please let me know to make this article more amazing.