Here you will learn how to install Ubuntu 23.04 on VirtualBox with a step-by-step guide from enabling virtualization technology to installing the operating system.
Undoubtedly, Ubuntu will be the first Linux distribution for most people who have started Linux for the first time, and it will certainly be the most familiar distribution.
For this reason, we will cover the step-by-step process of downloading, installing, and setting up the latest Ubuntu operating system using VirtualBox running on your Windows 10 or 11 64-bit computer.
This is a very beginner’s guide
So it will be useful for a lot of new starters who want to try Ubuntu for the first time, and once you get familiar with Ubuntu, you can follow the same steps to install it on physical hardware.
Prerequisite
The basic requirements for following this guide are to have Oracle VirtualBox and Ubuntu 23.04 ISO images.
For any reason, if you do not have both of the following items, it is not an issue because we will show you how to get Oracle VirtualBox and the ISO image of Ubuntu 23.04.
More importantly, you should enable “Virtualization Technology” from the UEFI/BIOS settings to avoid interruptions during installation. If you are not sure about it, then you should check out the below article.
And those who already have VirtualBox, ISO Image, and Virtual Technology enabled in their UEFI/BIOS can directly jump into the installation part.
Enable Virtualization Technology
At the time of installation, if you have not enabled “Virtualization Technology”, you may face the problem of starting a virtual instance.
To avoid this, you need to enable “Virtualization Technology” in UEFI/BIOS.
Instead of booting your system into BIOS, first check whether the virtualization option is enabled or not by using the command prompt, which will show the Virtualization Enabled in Firmware status as “Yes” or “No”.
So, to find that information first, open your command prompt and enter the below command:
systeminfo.exe
At the bottom, you will find the text “Virtualization Enabled In Firmware”.
If it is “Yes”, then you don’t need to enable it, and you can directly jump to the installation part. Those who get the output “No” need to restart their system into BIOS/UEFI mode.
To get into BIOS, press the respective button if you are aware of it.
You can try the following keys: “ESC or F2 or F10 or F12 with FN or without FN key”; or else you can refer to the vendor’s manual to find the exact key.
On my HP laptop, the BIOS mode can be accessed by pressing the F10 key, and once you get into the BIOS mode, you will find the option to enable “Virtualization Technology” in the System Configuration menu.

Once you enable virtualization, save the changes and restart your system.
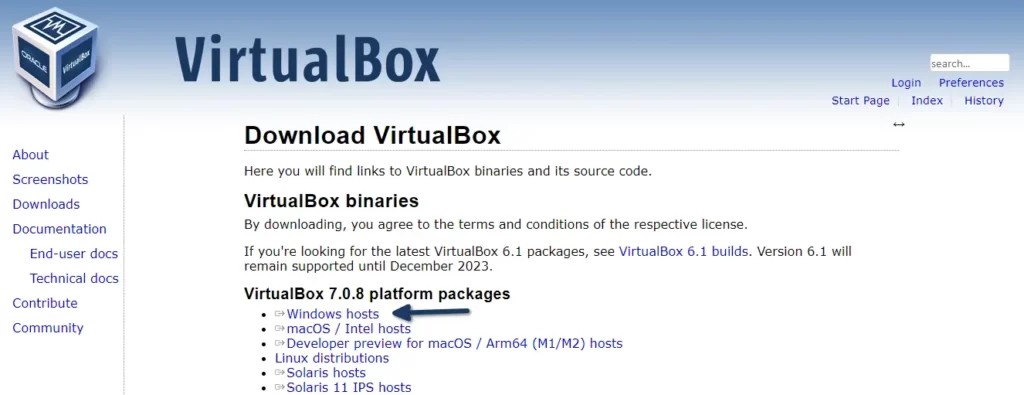
Download VirtualBox
To get the latest version of VirtualBox, click on the below button, which will redirect you to the official download page, from where you can choose VirtualBox as per your operating system.
This guide is basically for Windows users, so I’ll select the first option.
If you are following this guide on any other operating system, then you should choose VirtualBox as per your running operating system.
After getting the installation file, I believe you will be able to install it on your system without any difficulty.
If you want to know how to install VirtualBox on Linux, then check out this article.
Download Ubuntu 23.04 ISO
Ubuntu 23.04, a.k.a Lunar Lobester is the latest version of Ubuntu, which you can download from the button below:
The file size is approximately 4.60GB, so it may take a while to complete the download.
Steps to Install Ubuntu 23.04 on VirtualBox
Ubuntu 23.04 is very easy to install on VirtualBox. It will just ask you a couple of questions on the basis of your preferences, and it is very simple compared to Windows installation.
So let’s see the installation of Ubuntu 23.04 on your VirtualBox.
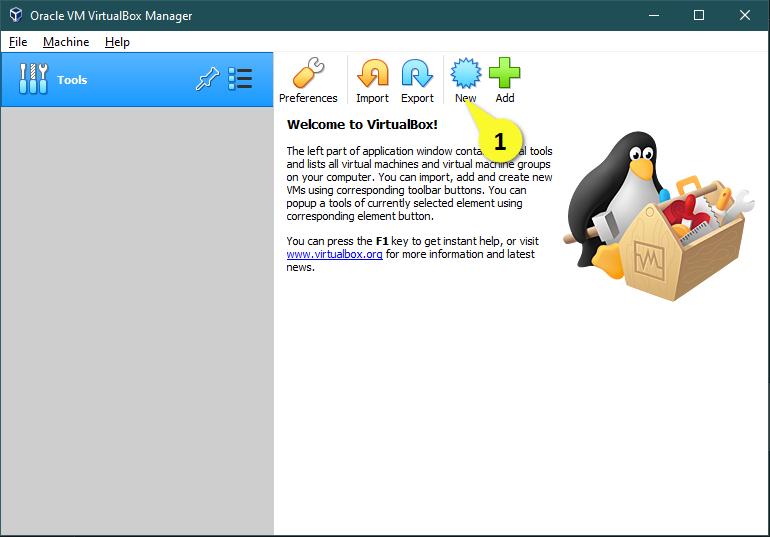
Step 1: Open Oracle VM VirtualBox
Once you complete the above prerequisites, then you are ready to install Ubuntu 22.04 on Windows VirtualBox, so first open your VirtualBox from the Start menu.
For the first time, your screen will look like mine, so to change your current interface, move your eye to the right side of the screen, and you will find multiple options like Preferences, Import, Export, New, and Add.
From this list of options, place your cursor on “New” to create a new Virtual Machine.
Step 2: Create Virtual Machine
There will be a couple of screens which will come in a series where you need to configure your virtual machine as per your requirements.
On the first screen you will be asked to enter your machine name, so simply ignore it and click on “Expert mode”, which is more convenient than “Guided mode”.
In the first block, enter your virtual machine name. I would suggest you put Ubuntu 22.04, which will automatically select the type of operating system to Linux, and also the version will be highlighted to 64bit.
I’m good with the default machine folder location. If you want to change it, then click on the drop-down button and choose the path where you want to store the file.
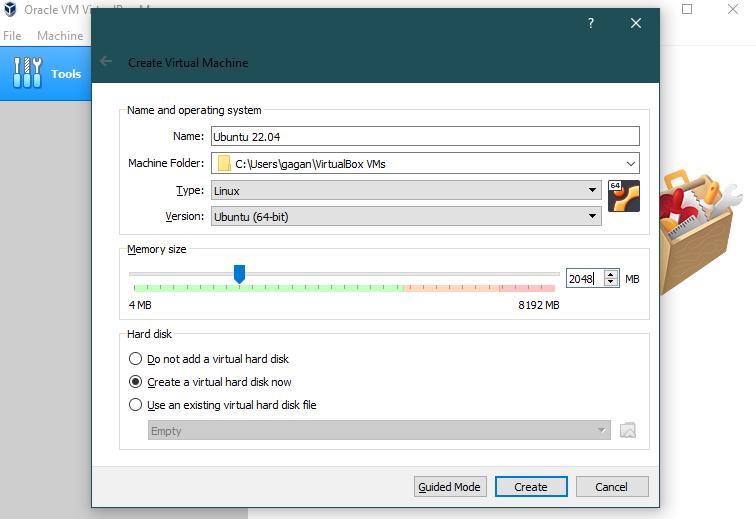
You can drag the slider back and forth to change the memory size, or else you can just put the memory size into the box.
And keep the rest of the options as they are and click on “Create.”
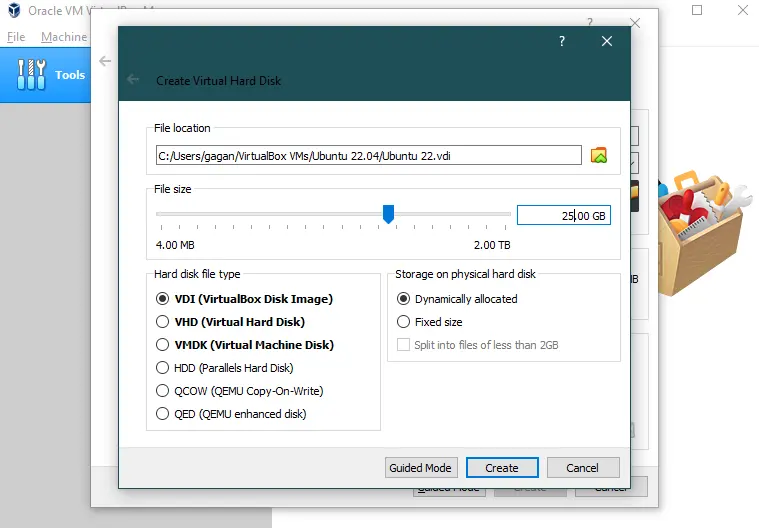
On the next screen, you will be asked to “Create Virtual Hard Disk”.
So simply put the size of the virtual hard disk size on the right side of the box, or else you can adjust the size using a slider, but make sure the file size should be more than 10 GB.
Step 3: Attach Ubuntu 22.04 ISO
You are almost done with the configuration. You just need to follow two more steps after that. You can start the virtual machine. Before that, let’s attach the ISO file to VirtualBox.
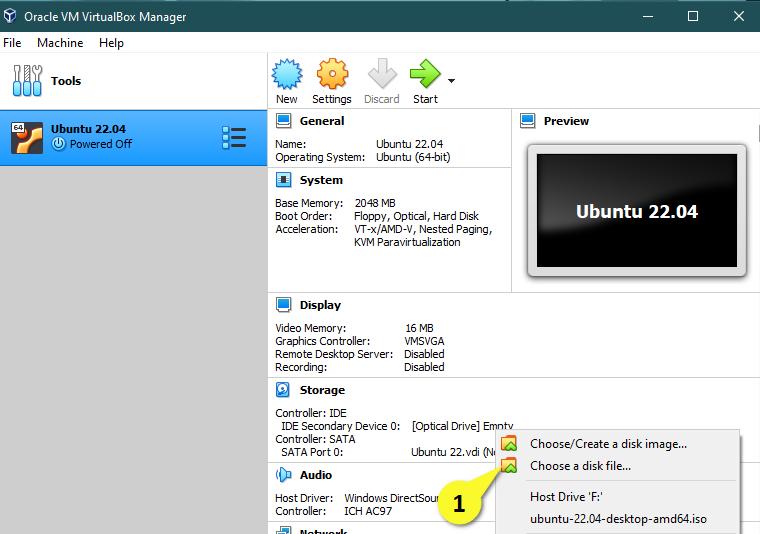
I think you are able to get a screen like mine on your end too, and as you can see, “[Optical drive] Empty”, so you need to click on “[Optical Drive] Empty” and select the ISO image.
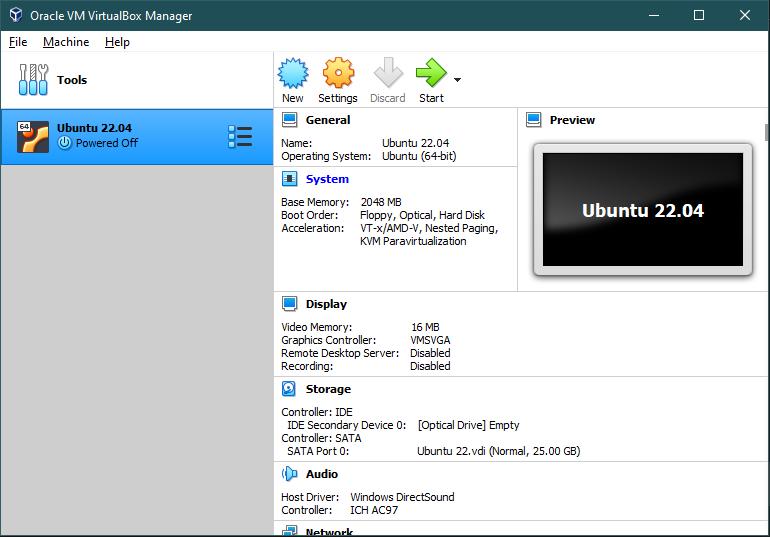
After that, click on the “Settings” gear to finalize our virtual configuration. If anything is left to do, then you can easily do it from here.
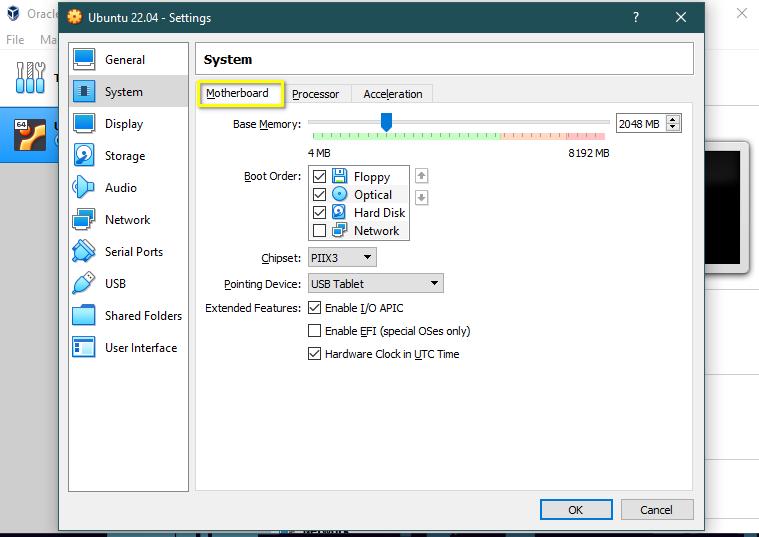
Under the Settings option, change your tab to “System”.
Here you will find the option to change the memory size. If you haven’t changed it yet, then do it now.
Next, go to “Processor” tab, which is next to “Motherboard”, and change the processor core according to your usage. In my case, I do have a 4 core, so I’ll select 2 cores.
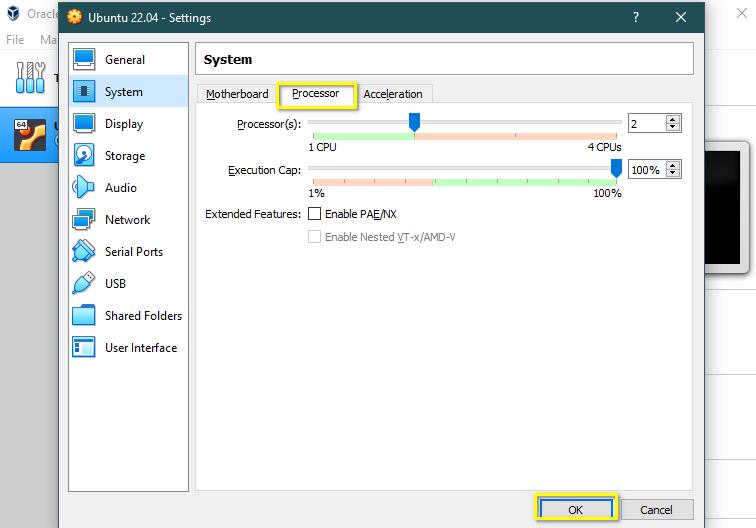
And keep the rest of the settings as it is. After that, click on “OK” to save the changes.
Step 4: Boot Virtual Machine
After following the above procedure, click on ![]() start button to power on the machine. Once you start the machine, you will be prompted with a mouse integration message. Simply click on “continue”.
start button to power on the machine. Once you start the machine, you will be prompted with a mouse integration message. Simply click on “continue”.
Basically, it instructs you to get out of the machine using the “Right Ctrl” key.
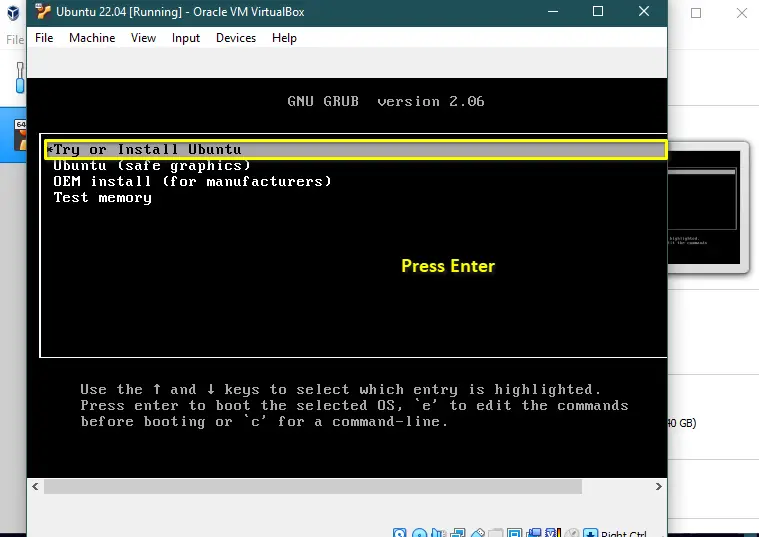
Next, you will find the boot option. Simply press enter on “Try or Install Ubuntu”.

Step 5: Select Language and Install Prompt
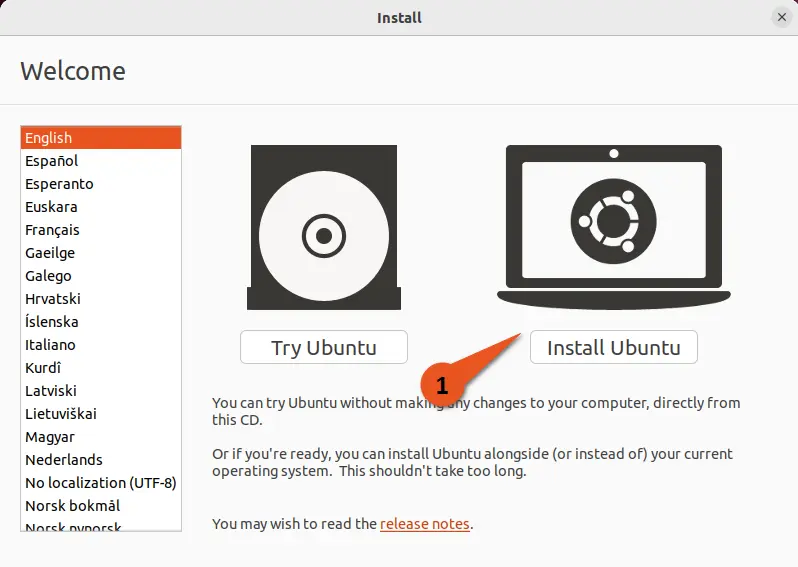
Once the boot is completed, you will be prompted to choose a language. Along with that, you need to select an option like how you want to install Ubuntu. If you want to first use Ubuntu and later decide whether you want to install it or not, then you can click on “Try Ubuntu”, or else you can directly jump to the installation part by choosing “Install Ubuntu”.
Even if you select “Try Ubuntu”, you will get the desktop icon on the Ubuntu screen to proceed with the installation.
If you want to follow this guide with me, you should click “Install Ubuntu”.
Step 5: Select Keyboard layout
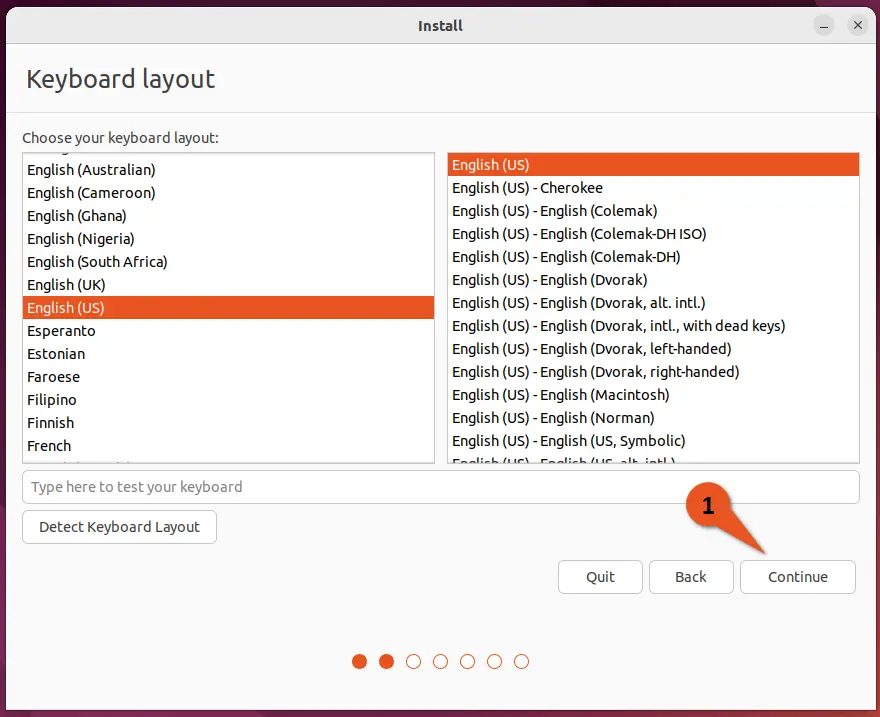
On this screen, you can choose your keyboard layout as per your locale. If you are not able to find your keyboard layout on this list, then you can click on “Detect Keyboard Layout”.
I’m good with the default settings, so without thinking much, I will click on Continue.
Step 6: Update and other software
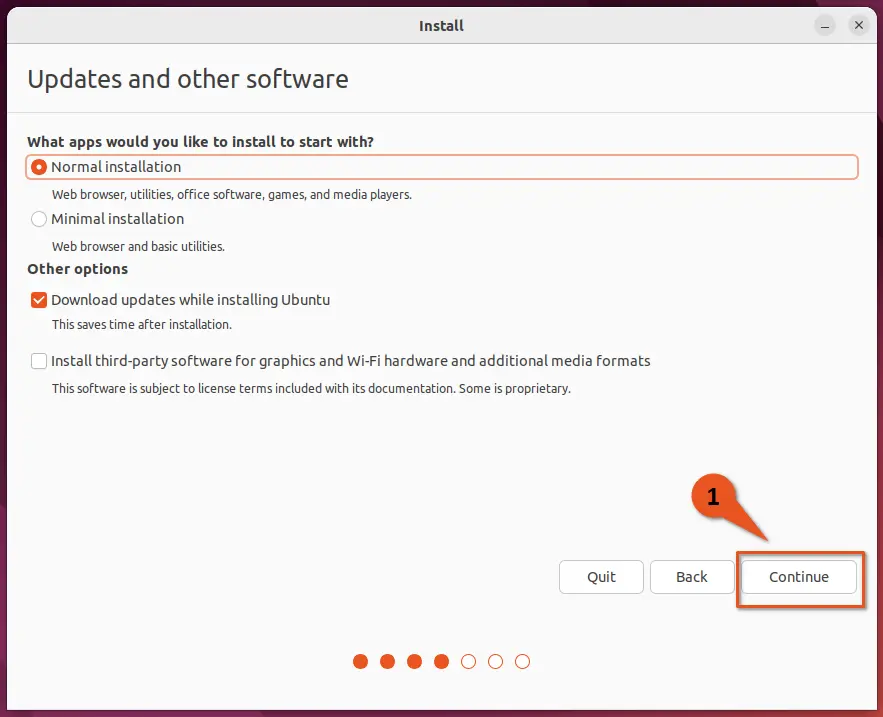
I believe you are new to Ubuntu, so I would suggest you choose “Normal installation” over “Minimal installation” because minimal installation ships with a small number of utilities, and as a beginner, you may find it difficult to find a package if it is required in the future.
Do check on “Download updates while installing Ubuntu”, which will ensure you get the latest version of packages.
If you are following this guide to install Ubuntu on hardware, then I would suggest you check “Install third-party software for graphics and Wi-Fi hardware and additional media formats”, which ensures you have the third-party drivers installed for proprietary hardware like Realtek, Nvidia, etc.
Keep it unchecked if you are following this guide on virtual systems, and click on Continue to switch to the next screen.
Step 7: Installation Type
You can choose how you want to install Ubuntu 22.04 on your virtual hard disk, which you have created initially. The first option you do have is to “Erase disk and install Ubuntu”, and the second is “Something else”.
As a starter, I would suggest you go with the first option, “Erase disk and install Ubuntu”.
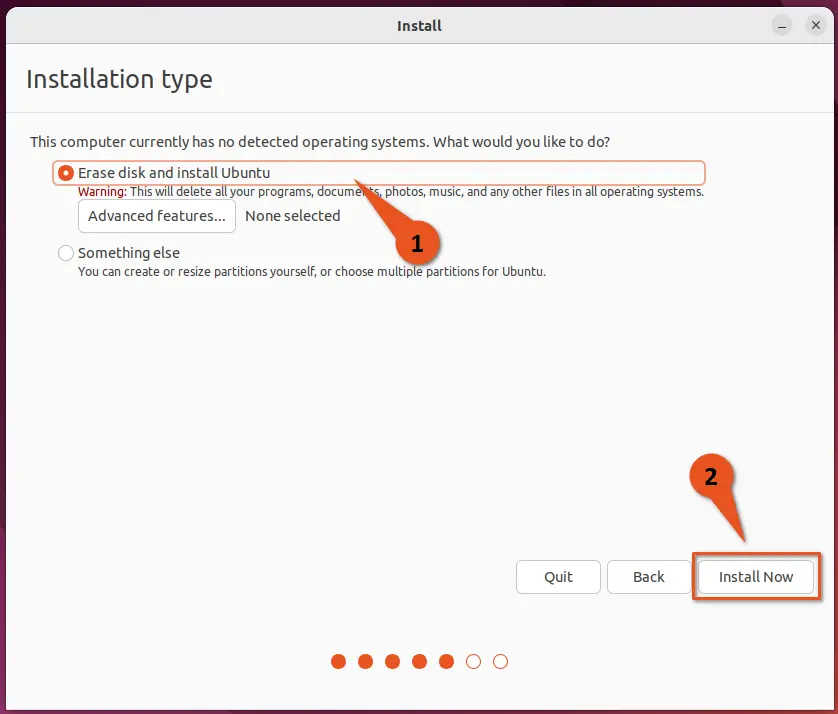
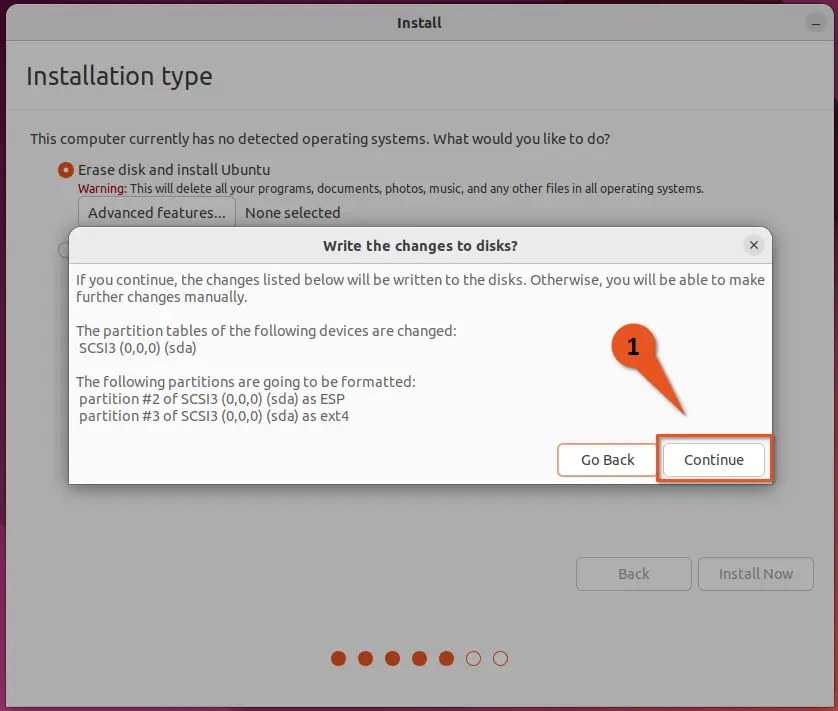
And click on “Install Now”, which will prompt you to verify the changes, so simply click on “Continue”.
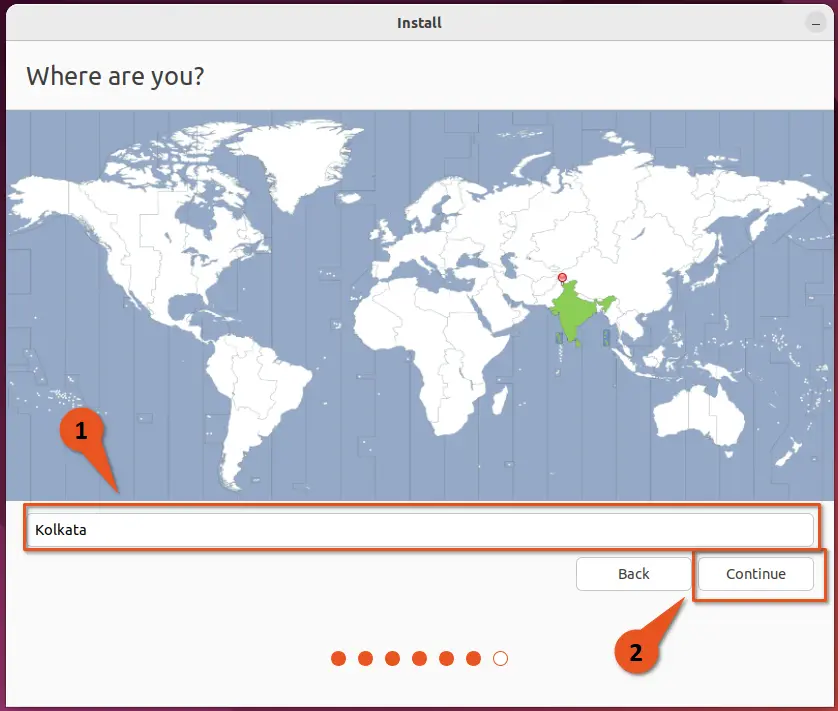
Step 8: Set your location
If your system is connected to the Internet, then the system will automatically fetch your region. If it is not the case, or you want to improve accuracy, then click on the drop-down menu and enter your location manually.
After that, click on “Continue”.
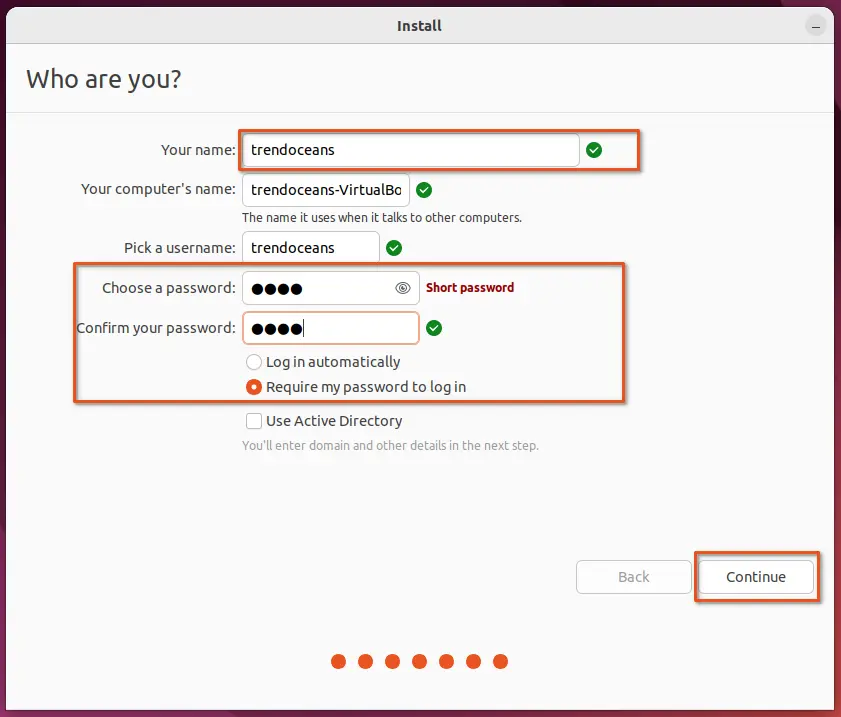
Step 9: Who are you
You are very close to experiencing Ubuntu 22.04 on your virtual machine, so let’s complete the installation by filling in a few details about the user.
First, start with your name, which will automatically feed details to the computer’s name and username. If you want to change those details, you can easily do so.
Make sure to check on “Require my password to log in” to secure your command, and don’t forget to set the password.
Once all is done, you can click on “Continue”, which will start the installation process.
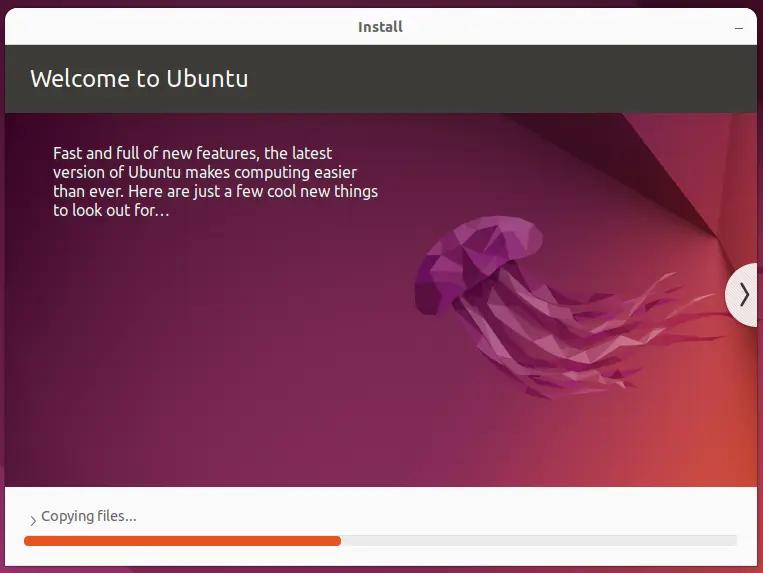
Step 10: Installation Progress
Installation takes some time to finish, and it varies from hardware to hardware, so wait for the process to complete and, once the process is complete, restart your system.
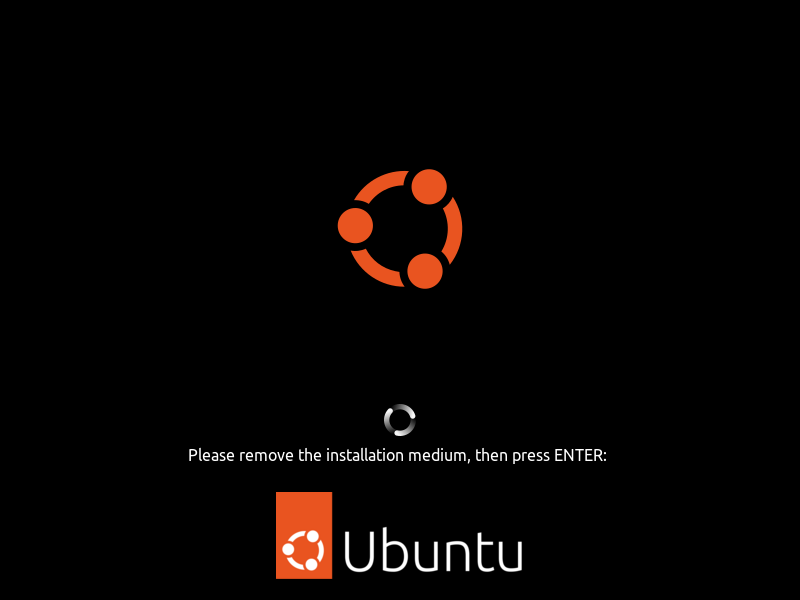
You will be asked to “Please remove the installation medium, then press Enter”, so simply press the ENTER key and wait for the system to get started.
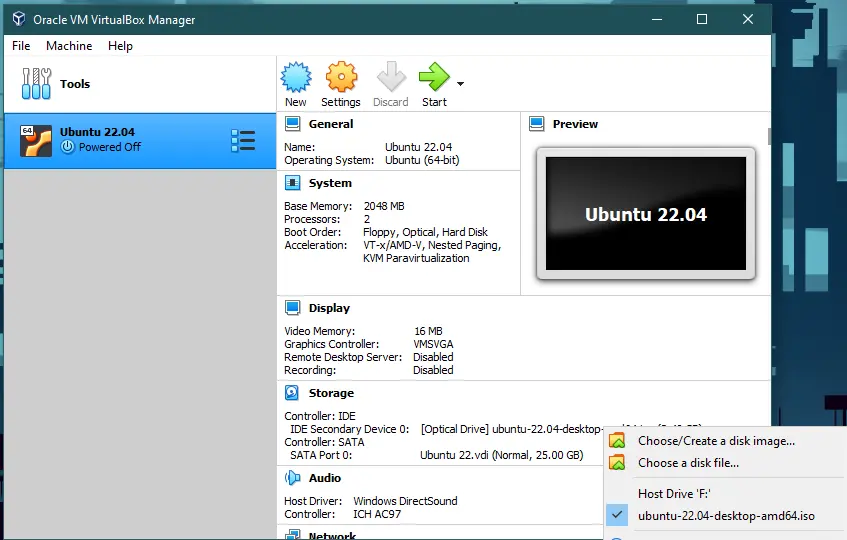
If you are getting the boot options menu again and again after the restart, then you need to remove the ISO image from the “Optical Drive” section.
The optical drive is the same option where you have attached the ISO image. Simply click on the optical drive, uncheck the options, and restart the machine.
Wrap up
That’s all to install Ubuntu 22.04 on VirtualBox.
You can also follow this guide on a physical machine. The only difference will be that you’ll need to create a bootable drive, which you can learn how to do by following this article: Creating a Bootable USB using Rufus for Linux Distributions