Privacy-centric users always find a shield to protect them against internet censorship. The community might have given us a lot of tools to protect our privacy, such as VPNs and Proxies, but none of them is full-proof.
Recently, we discussed the topic of installing the Tor Browser on the Linux system. Sadly, many of our readers were using Linux on their virtual machines or as a Subsystem on their Windows operating systems.
If you directly jumped to this article without reading the previous one on the installation of Tor Browser, then you might be wondering why they don’t use the Tor Browser for Windows.
The question is legit, but the problem is most of the spyware, trojans, payloads, etc, are made for the Windows system. I am not neglecting the fact that Linux is solid proof, but the weight is more on the Windows side.
Another reason is that you might be using someone else’s system to surf the internet. In that case, you can plug your bootable Tails USB into their system to have access to the internet.
Note: Accessing random people’s systems does not guarantee your complete privacy. If they have plugged hardware keylogger, then all kinds of keyboard data can be captured without your knowledge.
In this beginner’s guide, you will learn how to create an anonymous bootable Tails USB with persistent storage.
Prerequisite
- Computer systems running on Linux or Windows.
- Tails IMG file (It will take your 1.18 GB of Internet bandwidth)
- Bootable Making Application (Rufus or balenaEtcher)
- USB stick with a minimum of 8 GB of space
Creating Persistent Tails Bootable USB on Linux
First, click here to visit the official Tails website and download the latest version of the Tails IMG file, as shown below.

Next, you need to download the belaEtcher AppImage from the official site, as shown below.

The downloaded file will be compressed in zip format. Extract the content from it and then execute the belanEtcher with sudo privileges using the following command.
Note: Plug your USB stick into your system before launching the balenaEtcher AppImage.
$ unzip balena-etcher-electron-[Change the Version]-linux-x64.zip
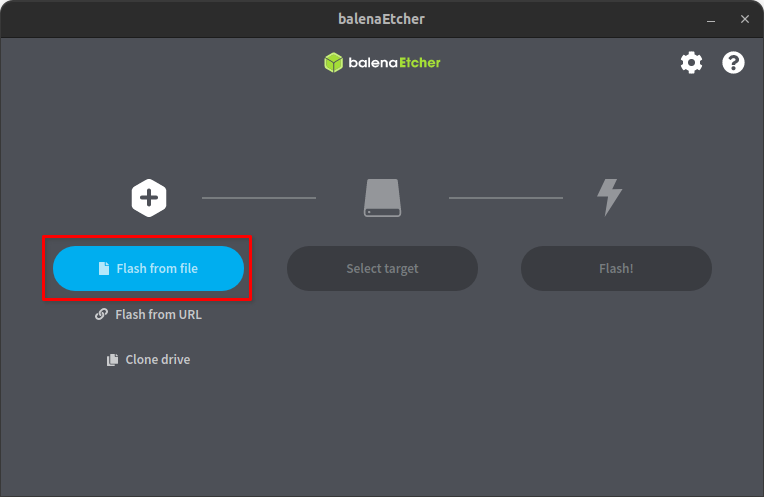
$ sudo ./balenaEtcher-[Change the Version]-x64.AppImageFrom the main window, click on the Flash from file button to open the browse window and select your downloaded Tails IMG file.
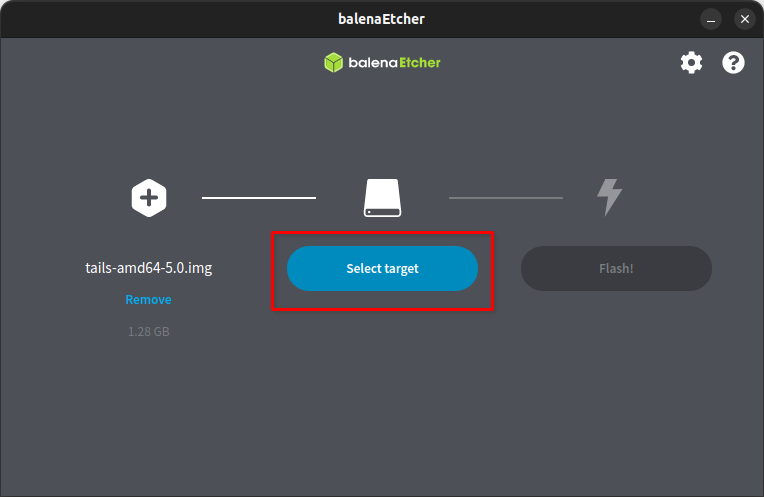
Next, it will ask for you to specify the target USB device.
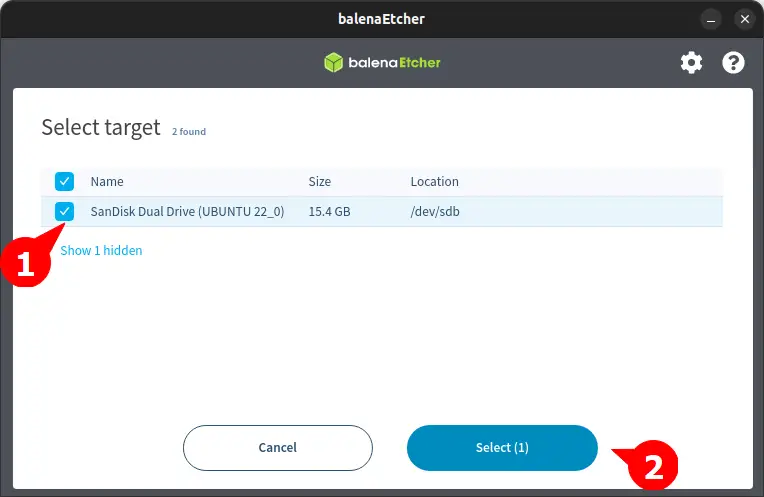
Select on the plugged USB device you want to make bootable.
Note: Backup the content of the USB drive before proceeding further to avoid data loss.
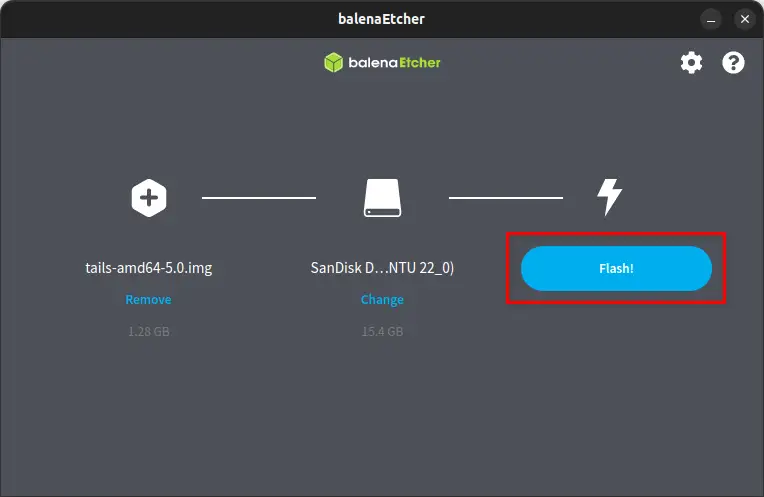
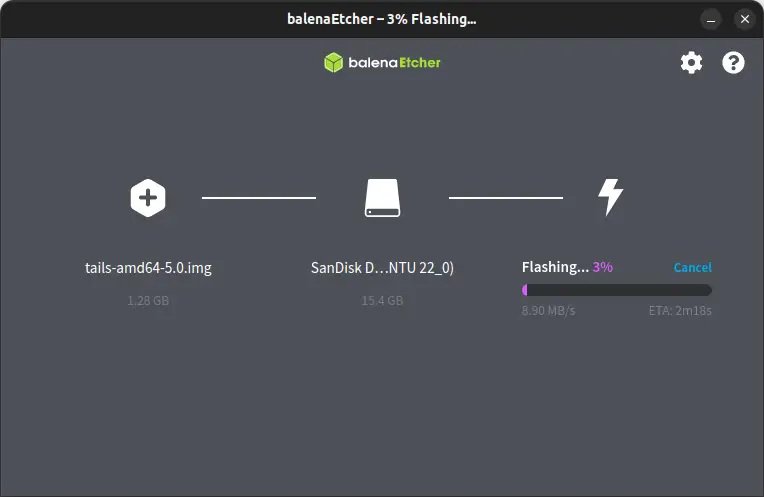
Finally, click on the Flash button to start the process of creating a Persistent Tails Bootable USB drive.
Now you can have a cup of tea until your USB is flashed.
Congratulation! You have successfully flashed your USB.
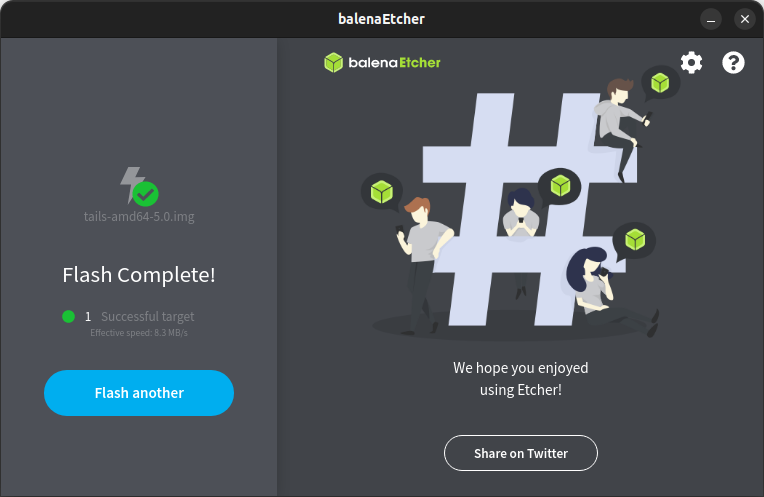
Right now you have a normal Tails bootable USB device, but it won’t preserve any changes in the live environment. In order to persist the data even after the reboot, you need to perform a few more steps.
First boot into your Tails Live environment from the BIOS setting and then you will see the screen below. Simply click on the Start Tails button.
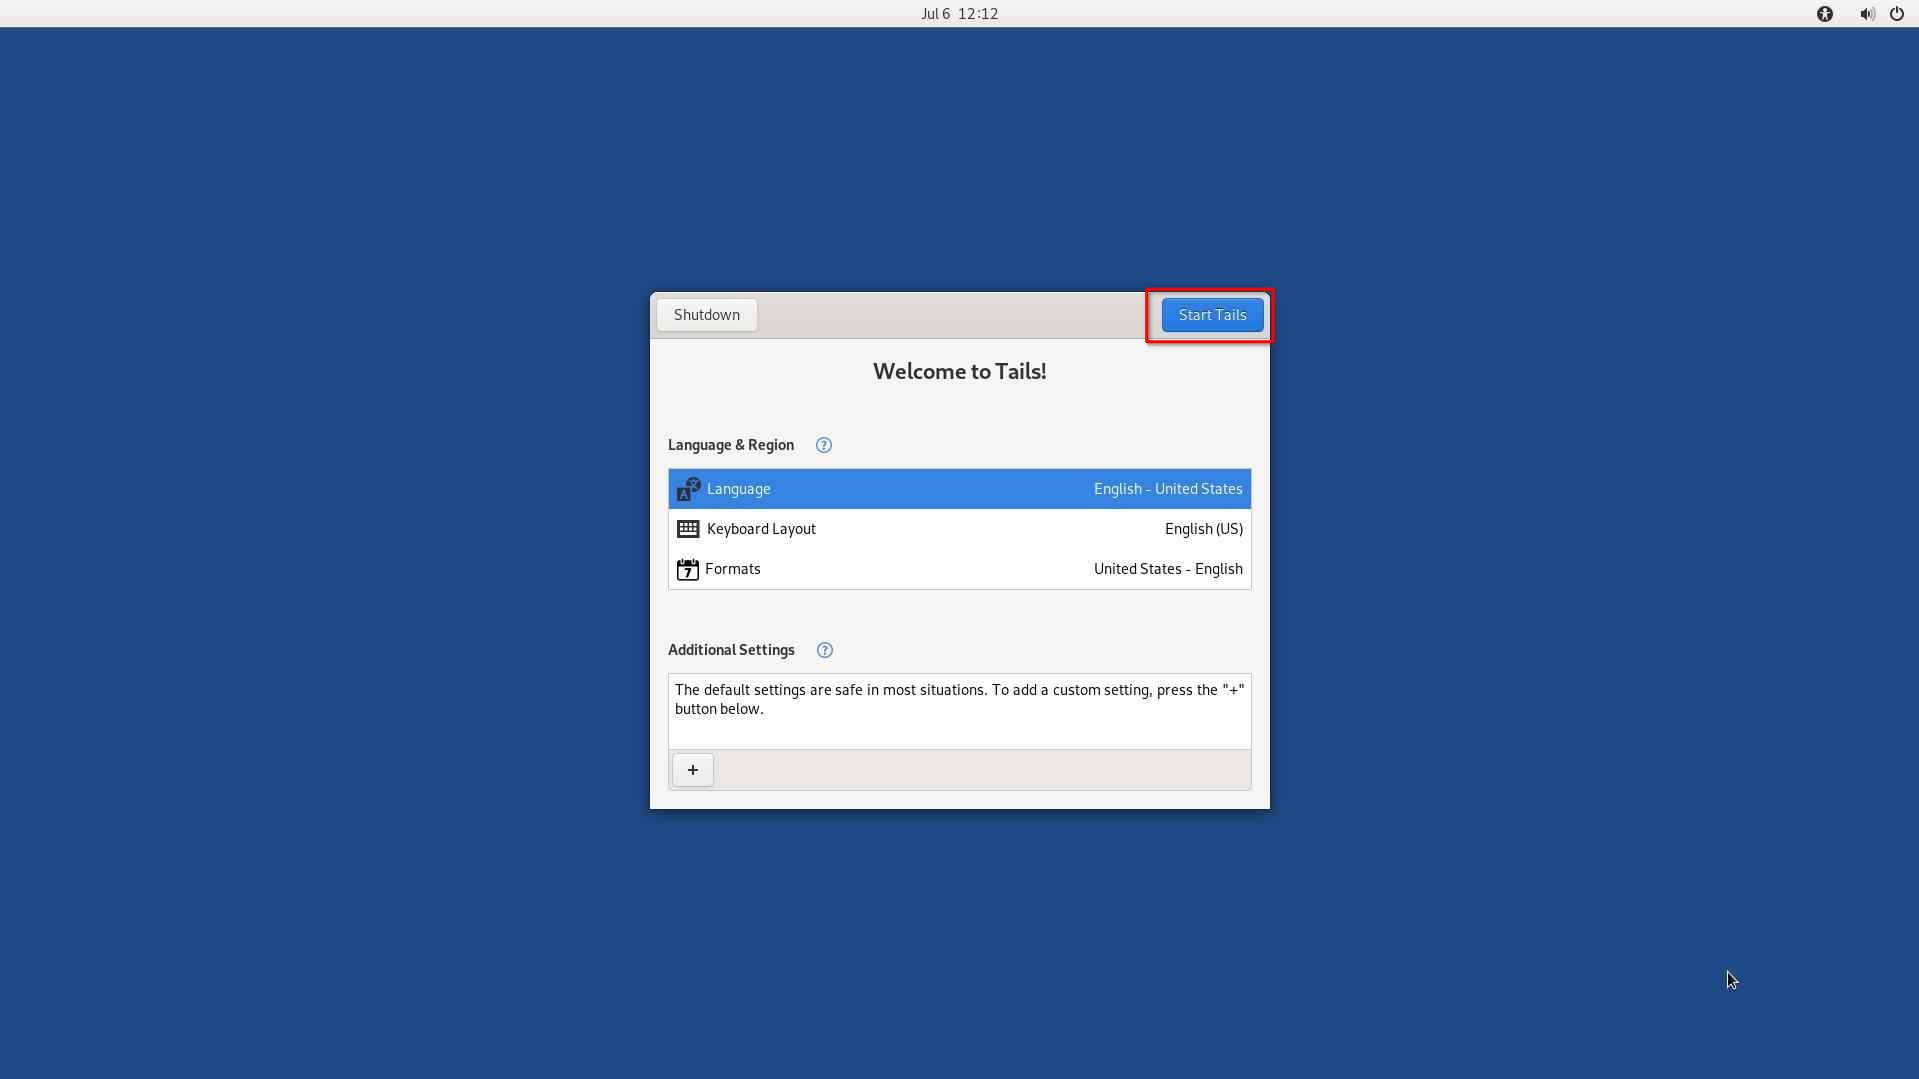
After this, you will be navigated to the Tails home screen.
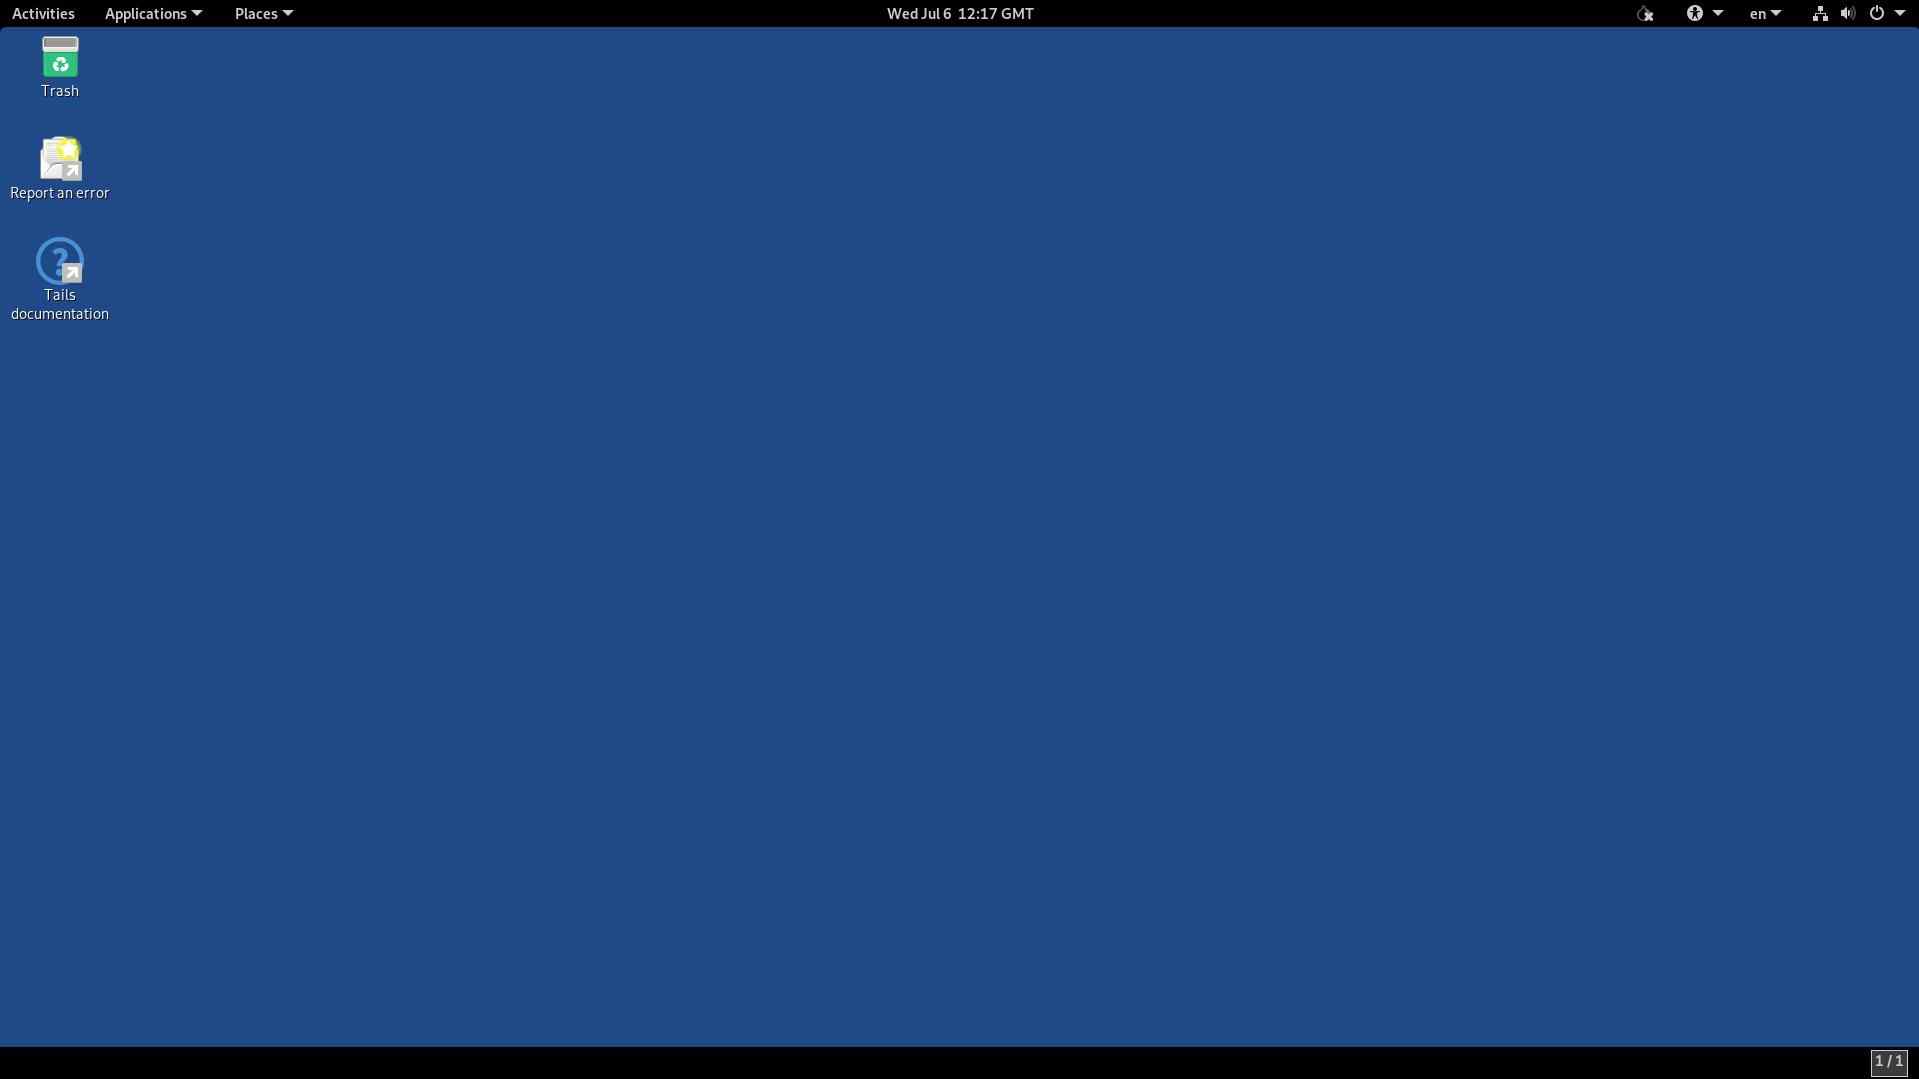
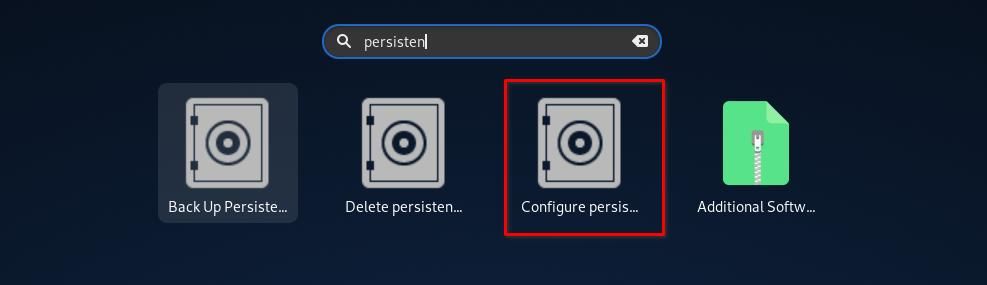
Search for Persistent from the Tails menu and click on Configure Persistent, which is highlighted below.
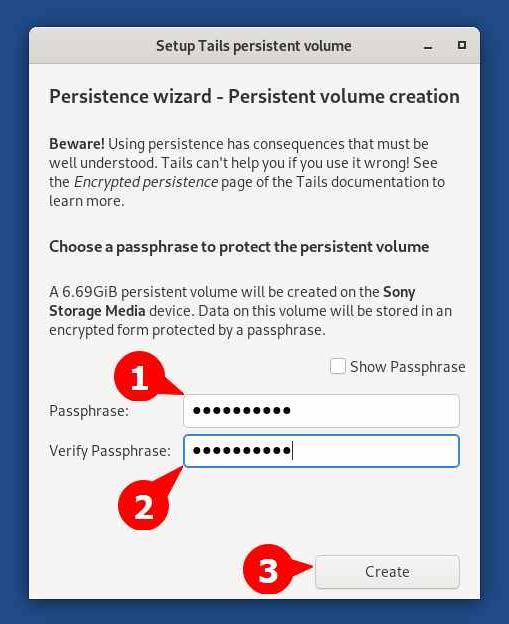
A Persistent Volume window will appear from where you will need to specify the password for your Persistent Volume (this will be used to login into the Persistent Volume) and click on the Create button.
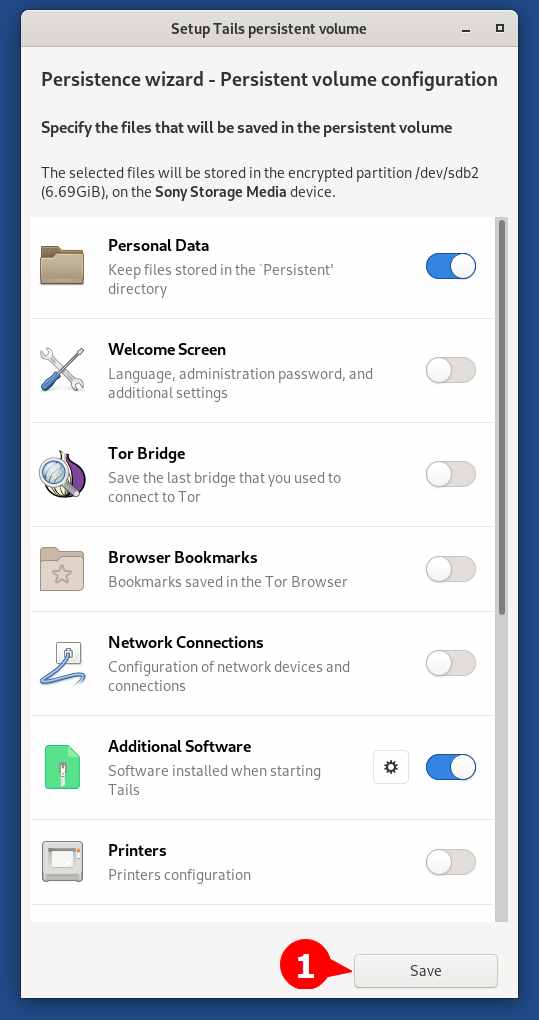
Now it will prompt the Persistent Volume Configuration window. From here, you can specify the type of data that needs to be saved in the persistent volume. By default, Personal Data and Additional Software will be selected and for now, I will recommend you to go with the default settings.
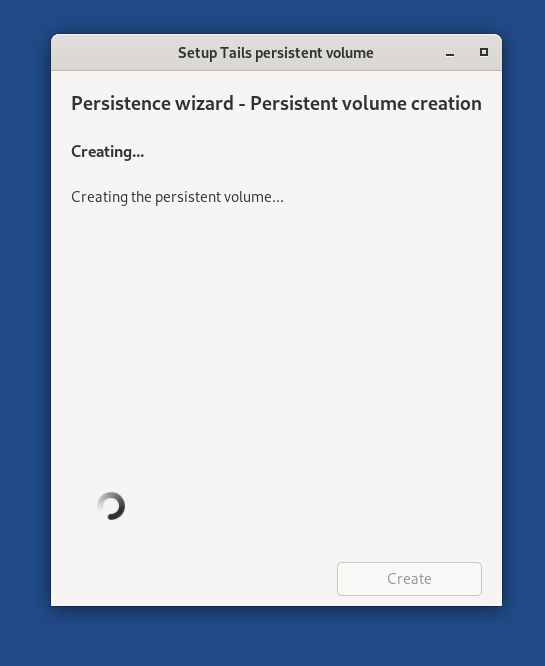
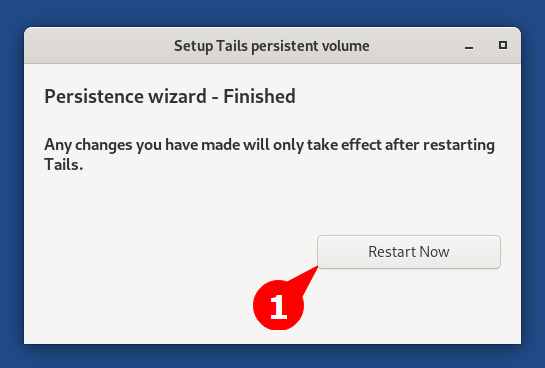
Wait for a few seconds until it gets ready.
Then click on the Restart Now button to apply the changes.
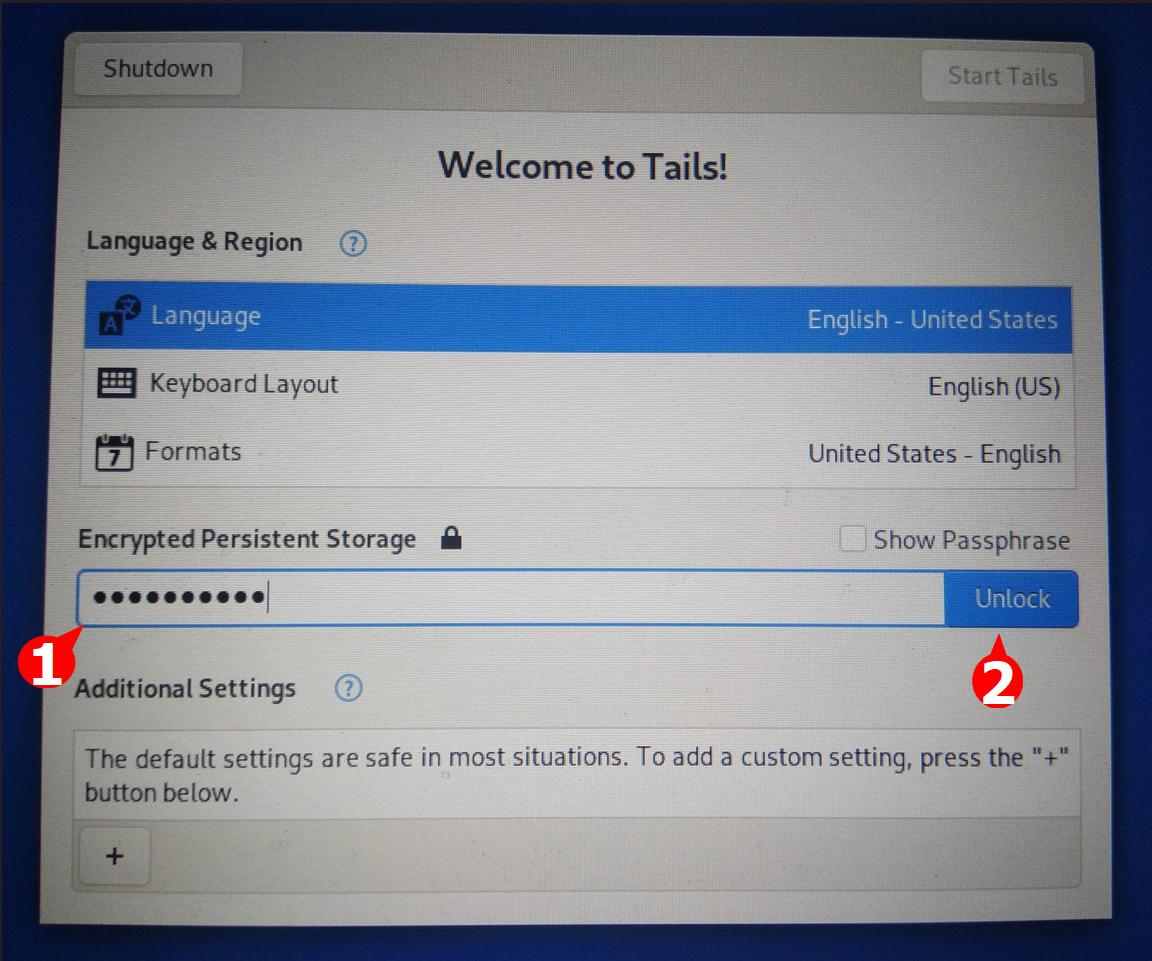
When you come back to the Tails login screen, it will ask you to enter the password you set while configuring Persistent Storage. Type your password and click on the Unlock button.
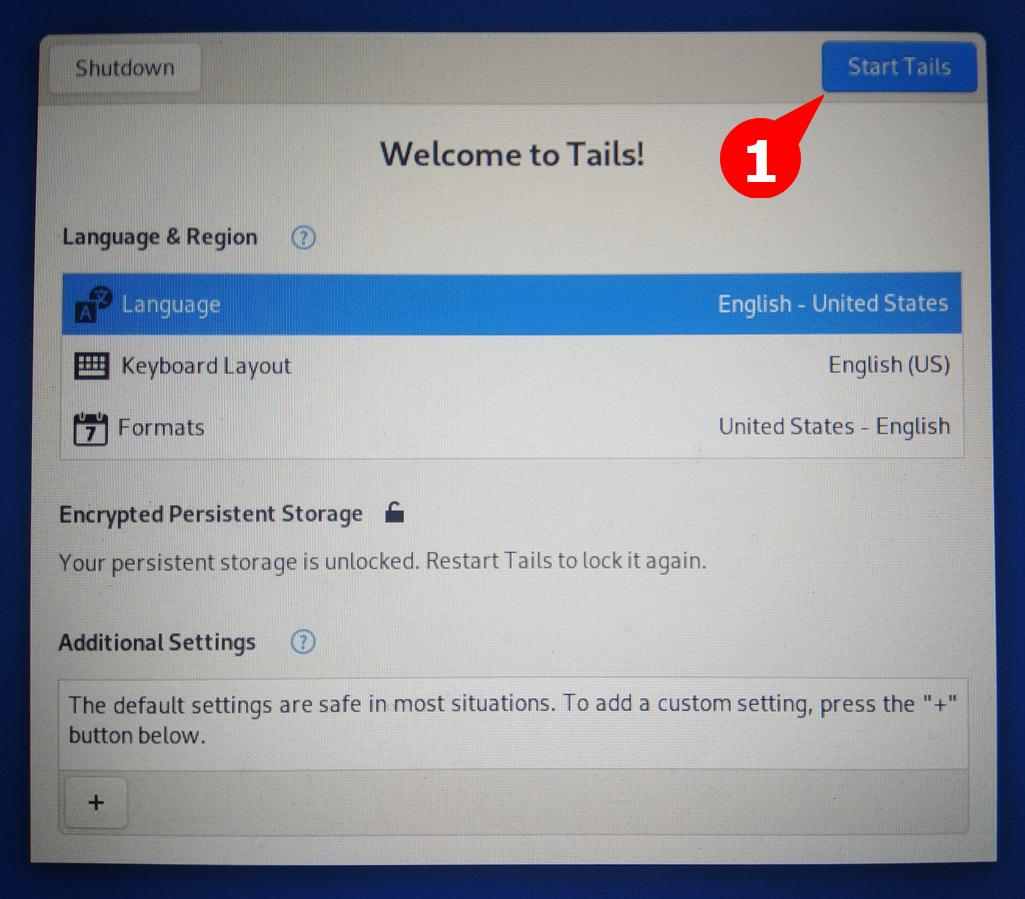
After the persistent storage is unlocked, click on the Start Tails button, as shown below.
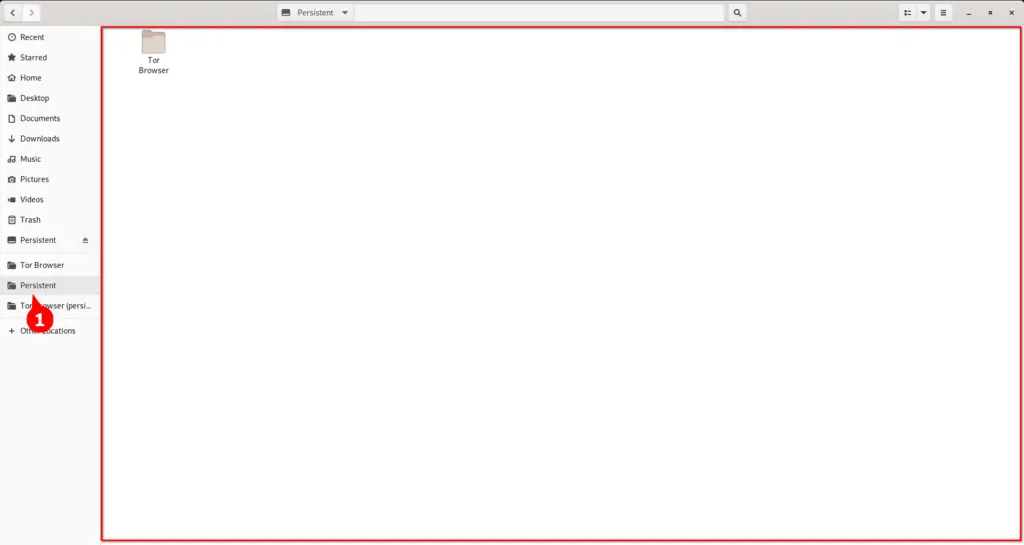
Now, search for files from the Tails menu to open the gnome nautilus file manager.
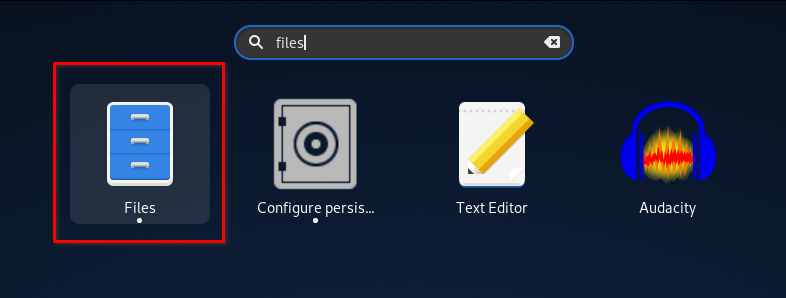
Navigate to the Persistent section. Here, you can store whatever files and documents you need to preserve even after the reboot.
Wrap Up
That’s all the steps you need to take in order to create a persistent Tails bootable USB stick on Linux. However, I usually do not recommend using persistent storage for saving account data in the text file.
It would be much better if you used persistent storage with VeraCrypt volume (to store documents and images) and KeePassXC (to store account passwords) in your persistent storage.
That’s all for now. If you have any recommendations or questions, feel to ask in the comment section.