I think so; a few weeks back, I was doing something on my Ubuntu 20.04. Suddenly my friend knocks on my door, and he was curiously peeking on my laptop screen. I asked what happen, Benhur?
Benhur replied, what are you doing on your laptop, It is totally different from my laptop screen, and It fascinated me. Will you tell me what it is?
I have explained to him the basics about Linux, Ubuntu, and open-source he was amazed by OpenSource technology. He eagerly asked will you guide me on how can I do the same with my Windows laptop.
So, I have decided to make a series on Basic Get started from Windows to Ubuntu system. This guided article will cover how to create a bootable Image for Ubuntu 20.04 using balenaetcher in the Windows system.
Prerequisite
- USB Drive
- Ubuntu .ISO Image (Not problem will cover too)
- Your motivation to learn new thing
Download Ubuntu ISO Image
If you have already downloaded Ubuntu ISO Image, you can skip this. For those who have not download the ISO Image, read the process.
Step 1. Visit to the Official Ubuntu Download Page
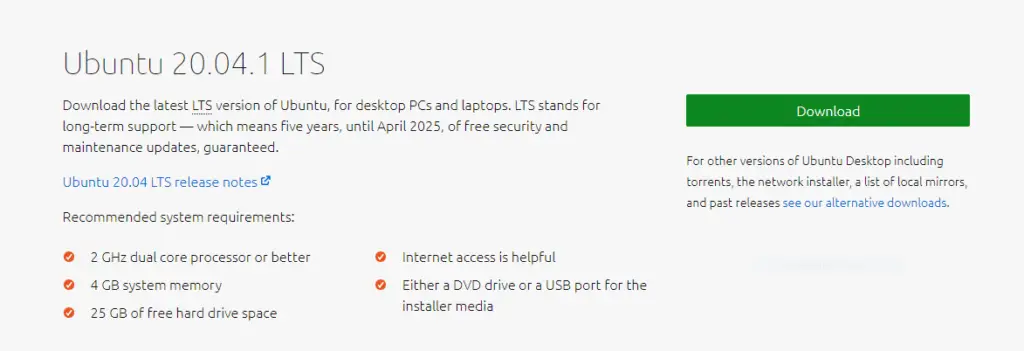
Step 2. Click on the Download Button, which is in Green colour. In a few seconds, the download will start, and the file size is around 2.6 GB.
In the meantime, we will download balenaEtcher to make the bootable USB drive.
Download balenaEtcher on Windows
There are many tools available to create a bootable USB stick in Windows. Etcher is one of them, and we recommend using it as it is way faster to create a bootable USB stick than other utilities.
Step 1. To download balenaEtcher visit official site.
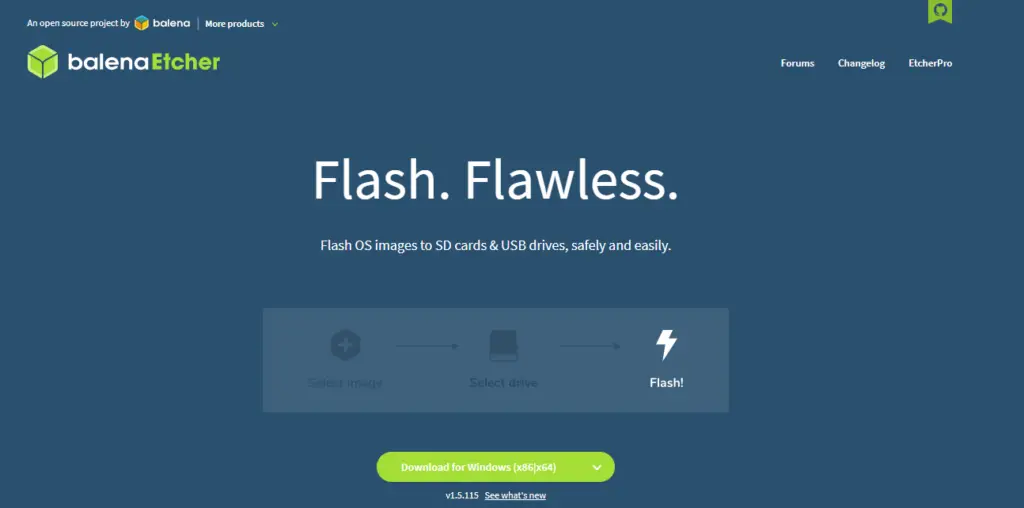
Step 2. Click on Download for Windows (x86|x64) wait for a few seconds to start downloading balenaEtcher.
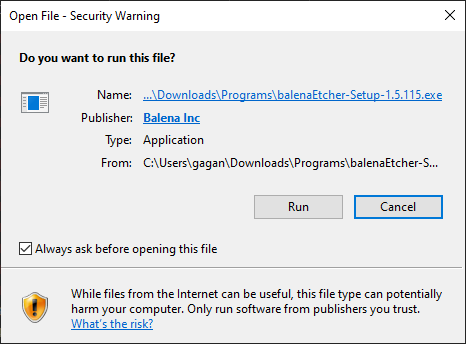
Step 3. We need to Install balenaEtcher to our Windows PC, go to the directory where you have downloaded the file, and make a double click on a download file, click on Run.
Step 4. When you click on Run balenaEtcher installation wizard will pop up and ask you to agree with License and Agreement.
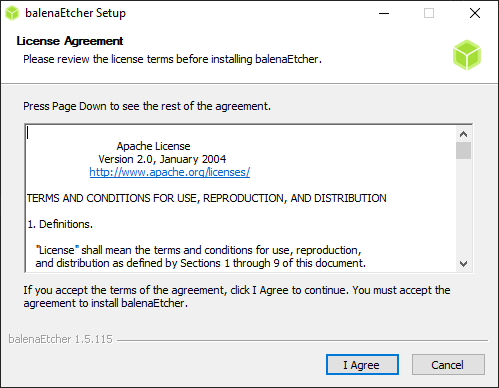
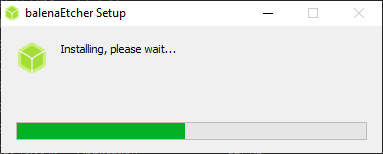
As you click on, I Agree balenaEtcher get start Installing.
How to create an Ubuntu bootable disk using balenaEtcher?
I hope you have already completed above step now we will Create bootable disk using balenaEtcher.
Step 1. Connect USB drive to your system
Step 2. We need to Click on Flash from file
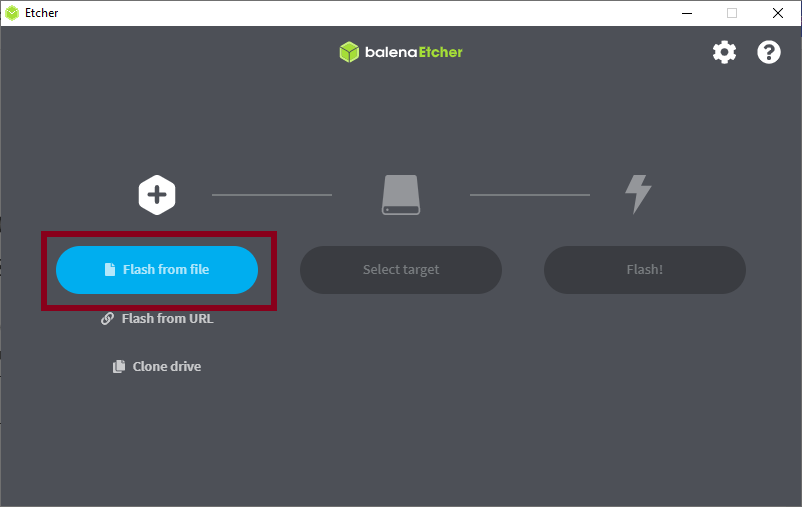
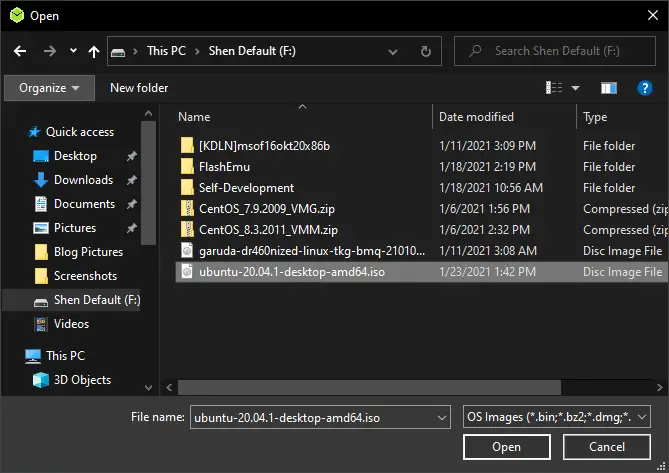
Provide the Ubuntu 20.04.1 iso file location.
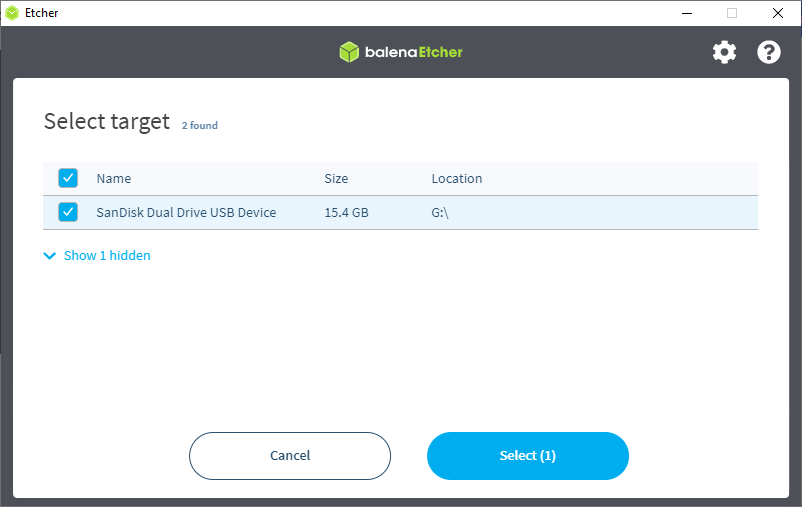
Step 3. After providing the .iso file details click on Select target.
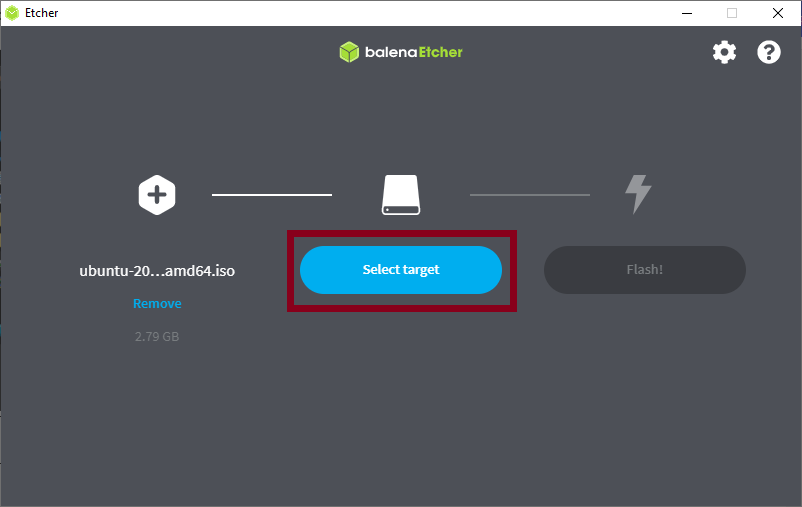
If you are confused, what is a target? A target is like a device you want to make a bootable disk, and It’s better to connect a single USB drive to avoid confusion and data loss.
Click on the right USB Disk Inmy case I have SanDisk Dual Drive USB Drive which size is 15.4 GB, after that click on Select(1).
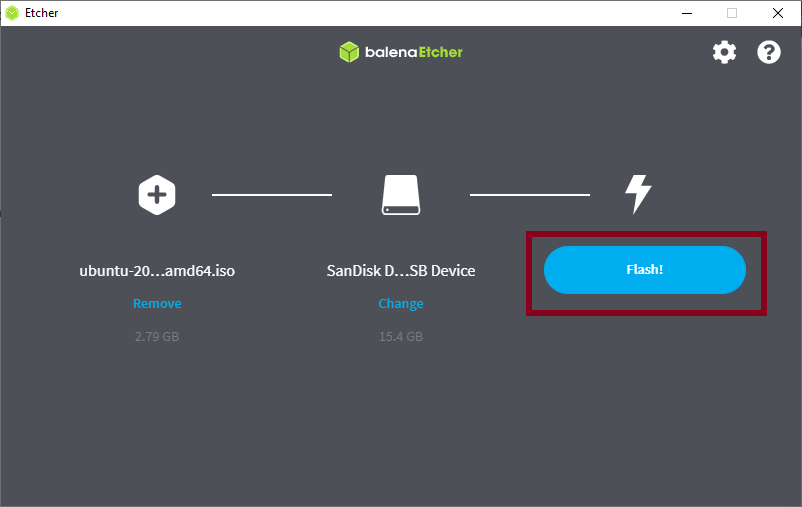
Step 4. Finally click on Flash!
Before clicking to Flash! Make sure you have selected right USB Drive; otherwise, you may lose you valuable data.
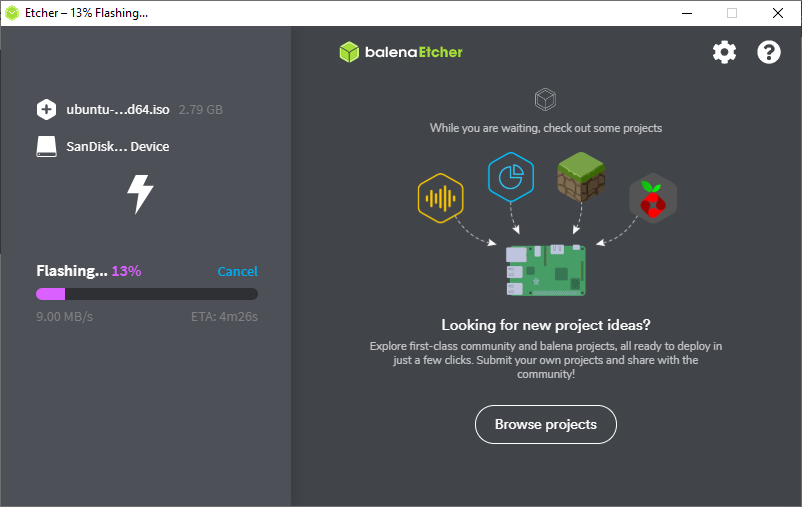
When you click on Flash! You will get the Dialog Box of User Acess Control (UAC), click on Yes and proceed.
That’s all you need to wait for some time to complete the Flashing and Validating process.
In the meantime, you can read 30 Basic commands which every Linux user should know
Alright, you are able to create Ubuntu bootable device using balenaEtcher on Windows 10.

Wrap-up
That’s it for today my reader and make sure to bookmark this page we are on the way to create complete get started course for our budding Linux user at absolutely free.
If you want to give feedback or any suggestion, feel free to comment down below.